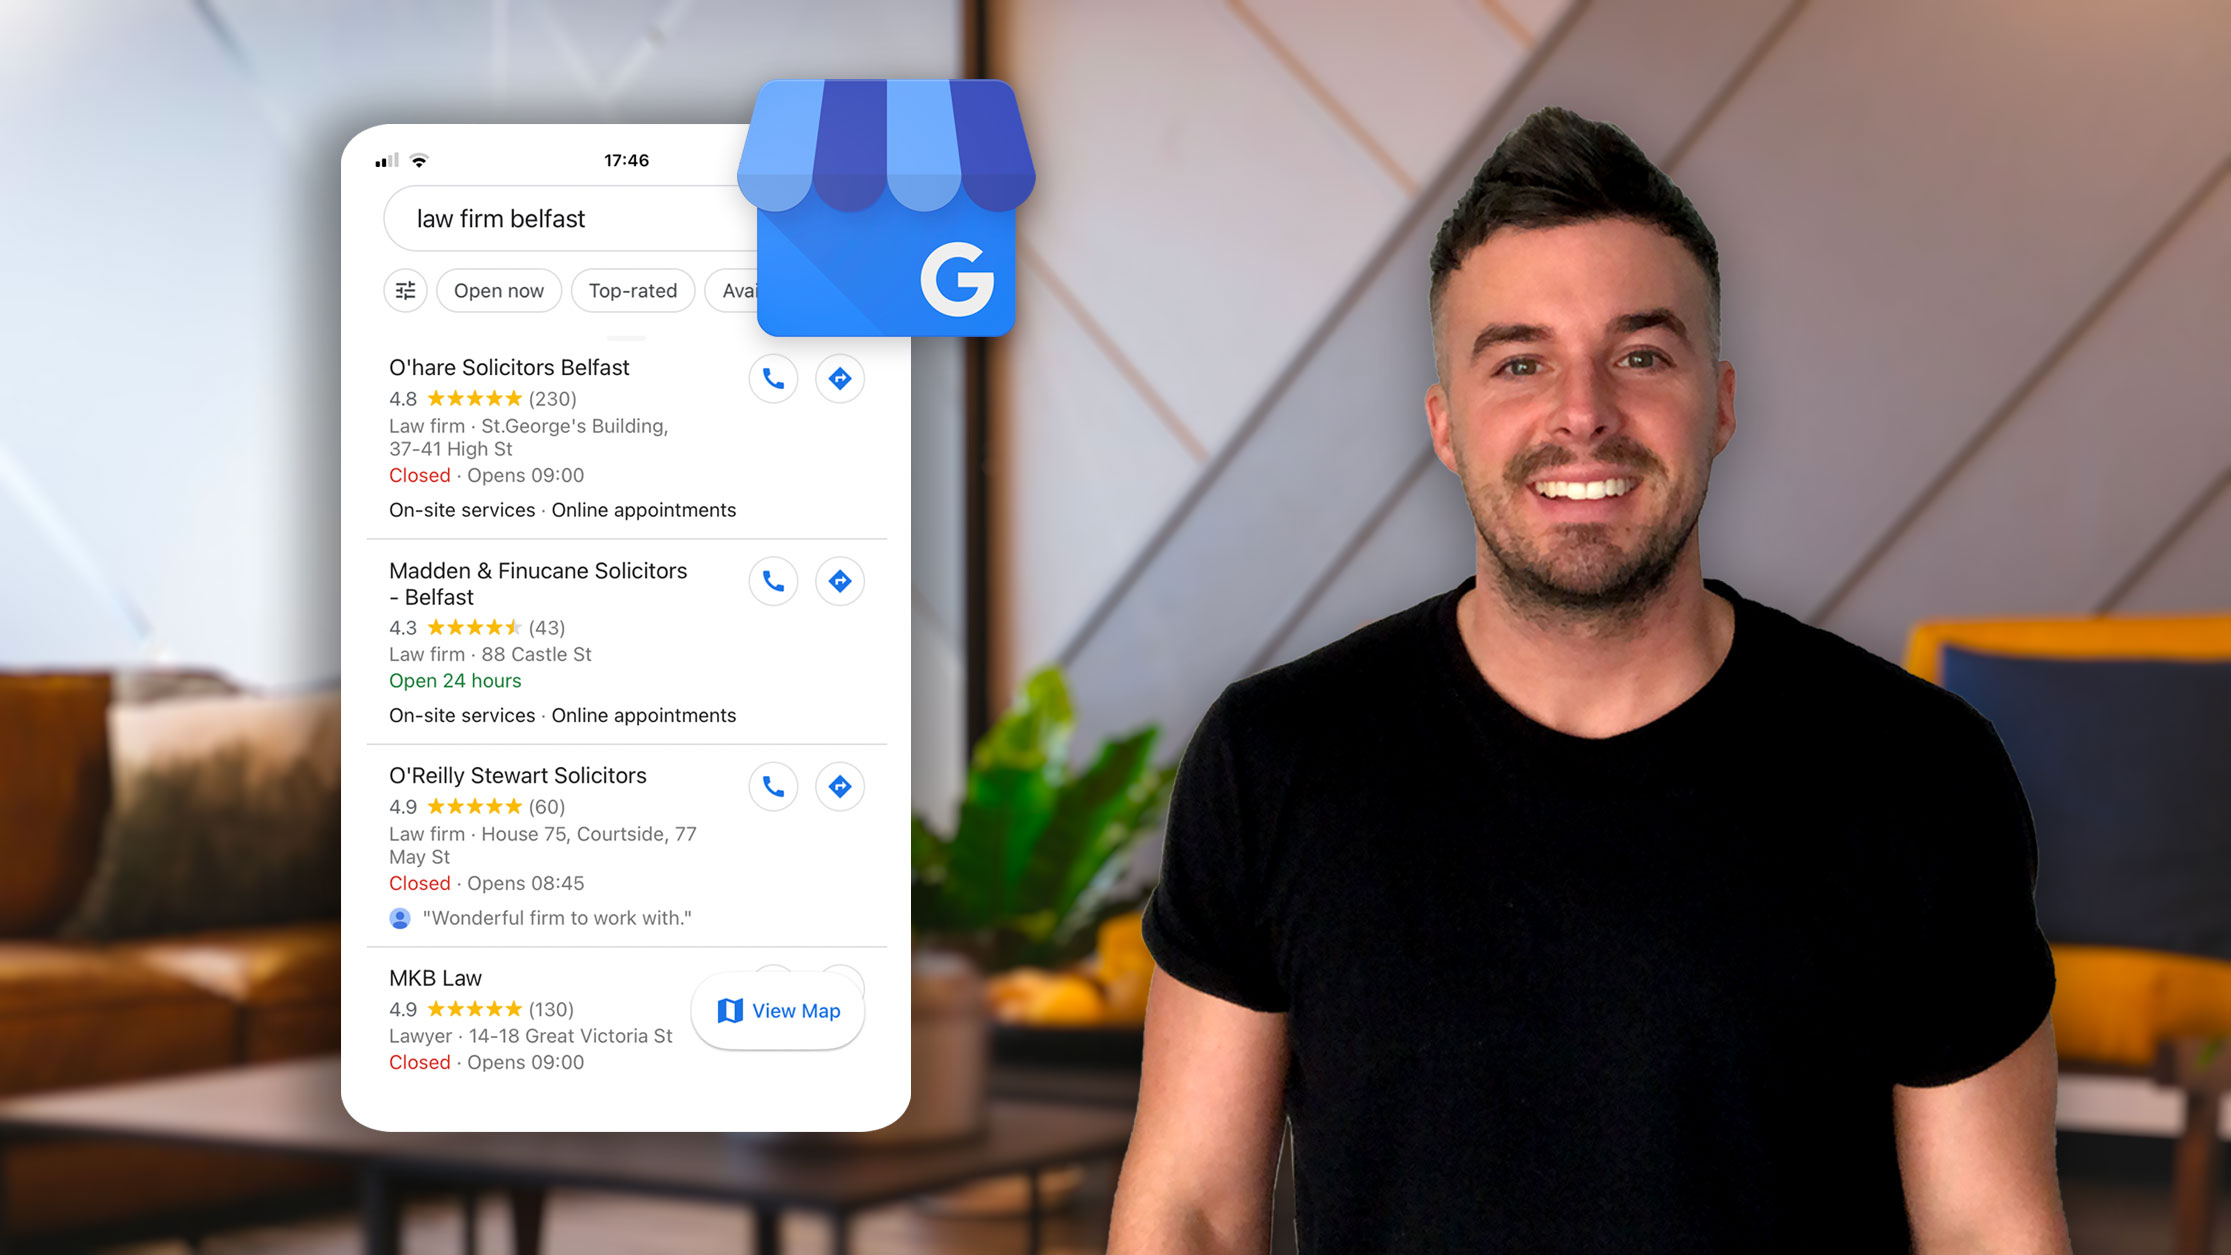
Setting up a Google Business Profile is essential in 2024. It allows potential customers to find your local business on Google Search and Google Maps.
Some of the key benefits of having a Google Business Profile account include:
- Allow you to showcase your products and services on Googles local search
- Build trust through Google reviews
- Interact with potential customers via messages
The benefits of Google Business Profile for your business cannot be understated.
With this in mind, we'll provide a simple step-by-step guide to getting Google Business Profile set up for your business.
1. Google Account Creation
Before you can set up Google Business Profile for your business you’ll need to have a Google account for your business. If you already have a Google account you can skip this step and move to step 2.
This can be a professional email if you’re using Google Workspace (info@yourbusiness.com). Or you can use a free Google account (yourbusiness@gmail.com).
To set up your free Google account visit accounts.google.com. Click ‘Create account’, then select ‘For work or my business’.
Logging into your Google account requires an email address. You can create a Gmail address using this form. Alternatively, you can use an existing email address from a different provider. You can do this by clicking the ‘Use my current email address instead’ on the form.
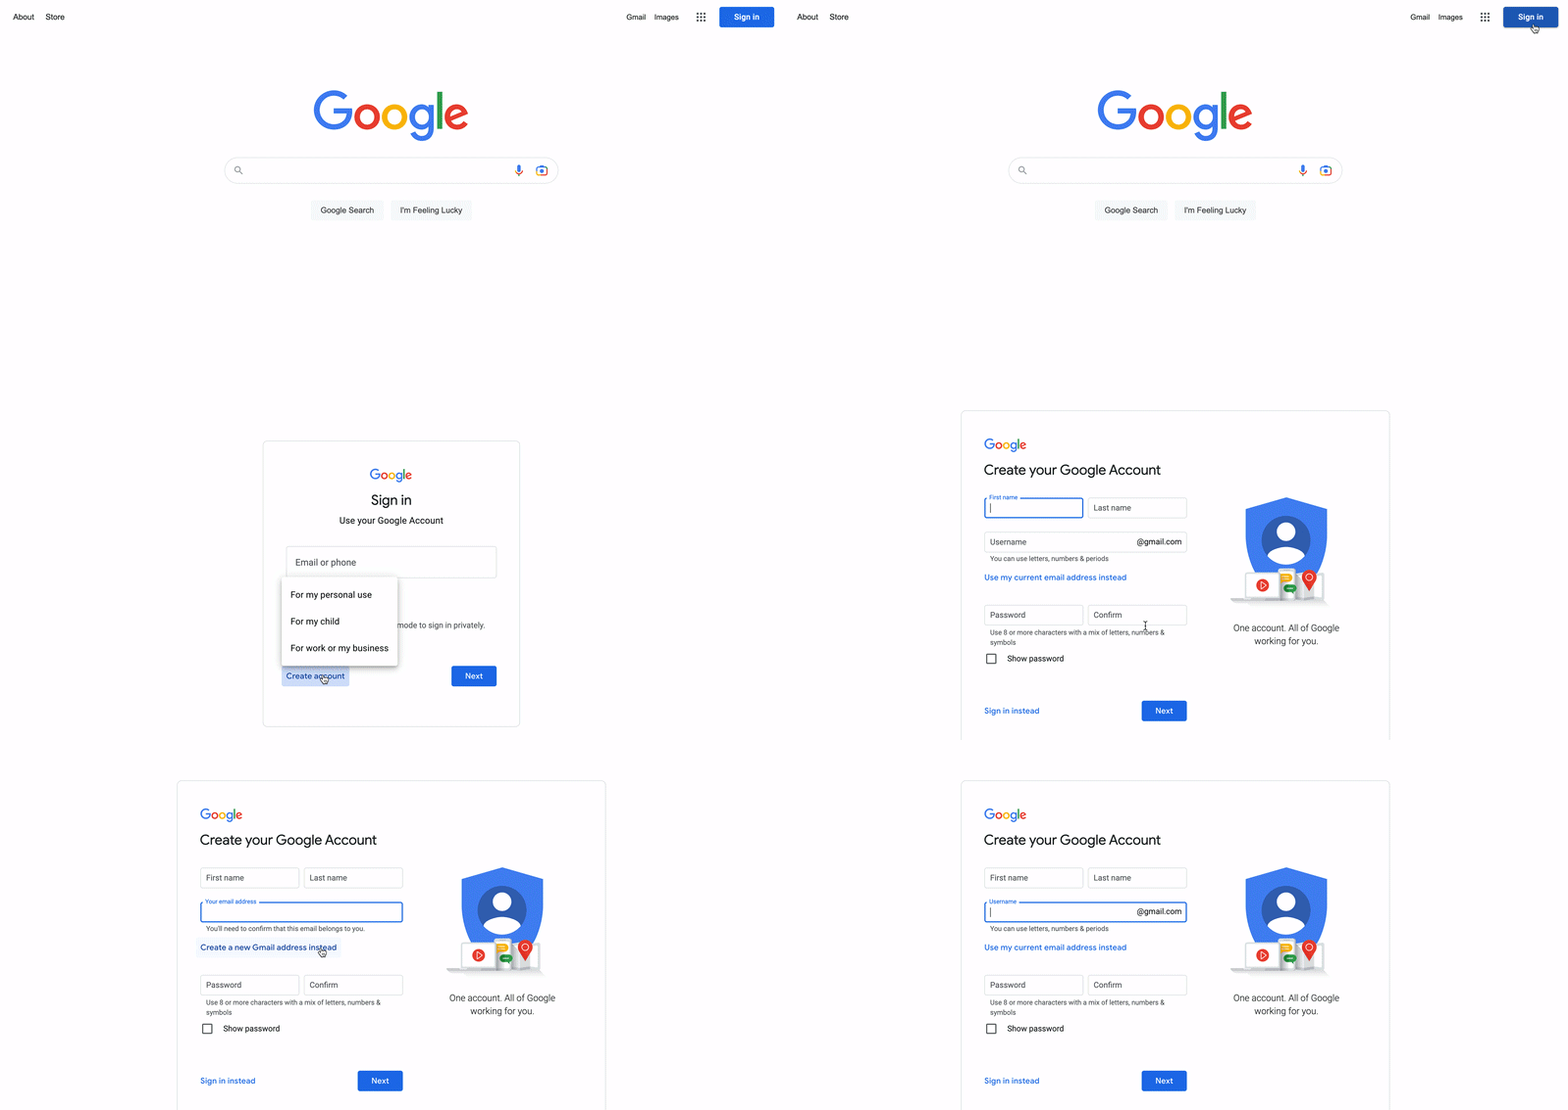
We recommend creating a free Gmail email address to use for your Google Business Profile. Fill out the remaining fields in the form to complete your Google account setup.
2. Set Up Google Business Profile
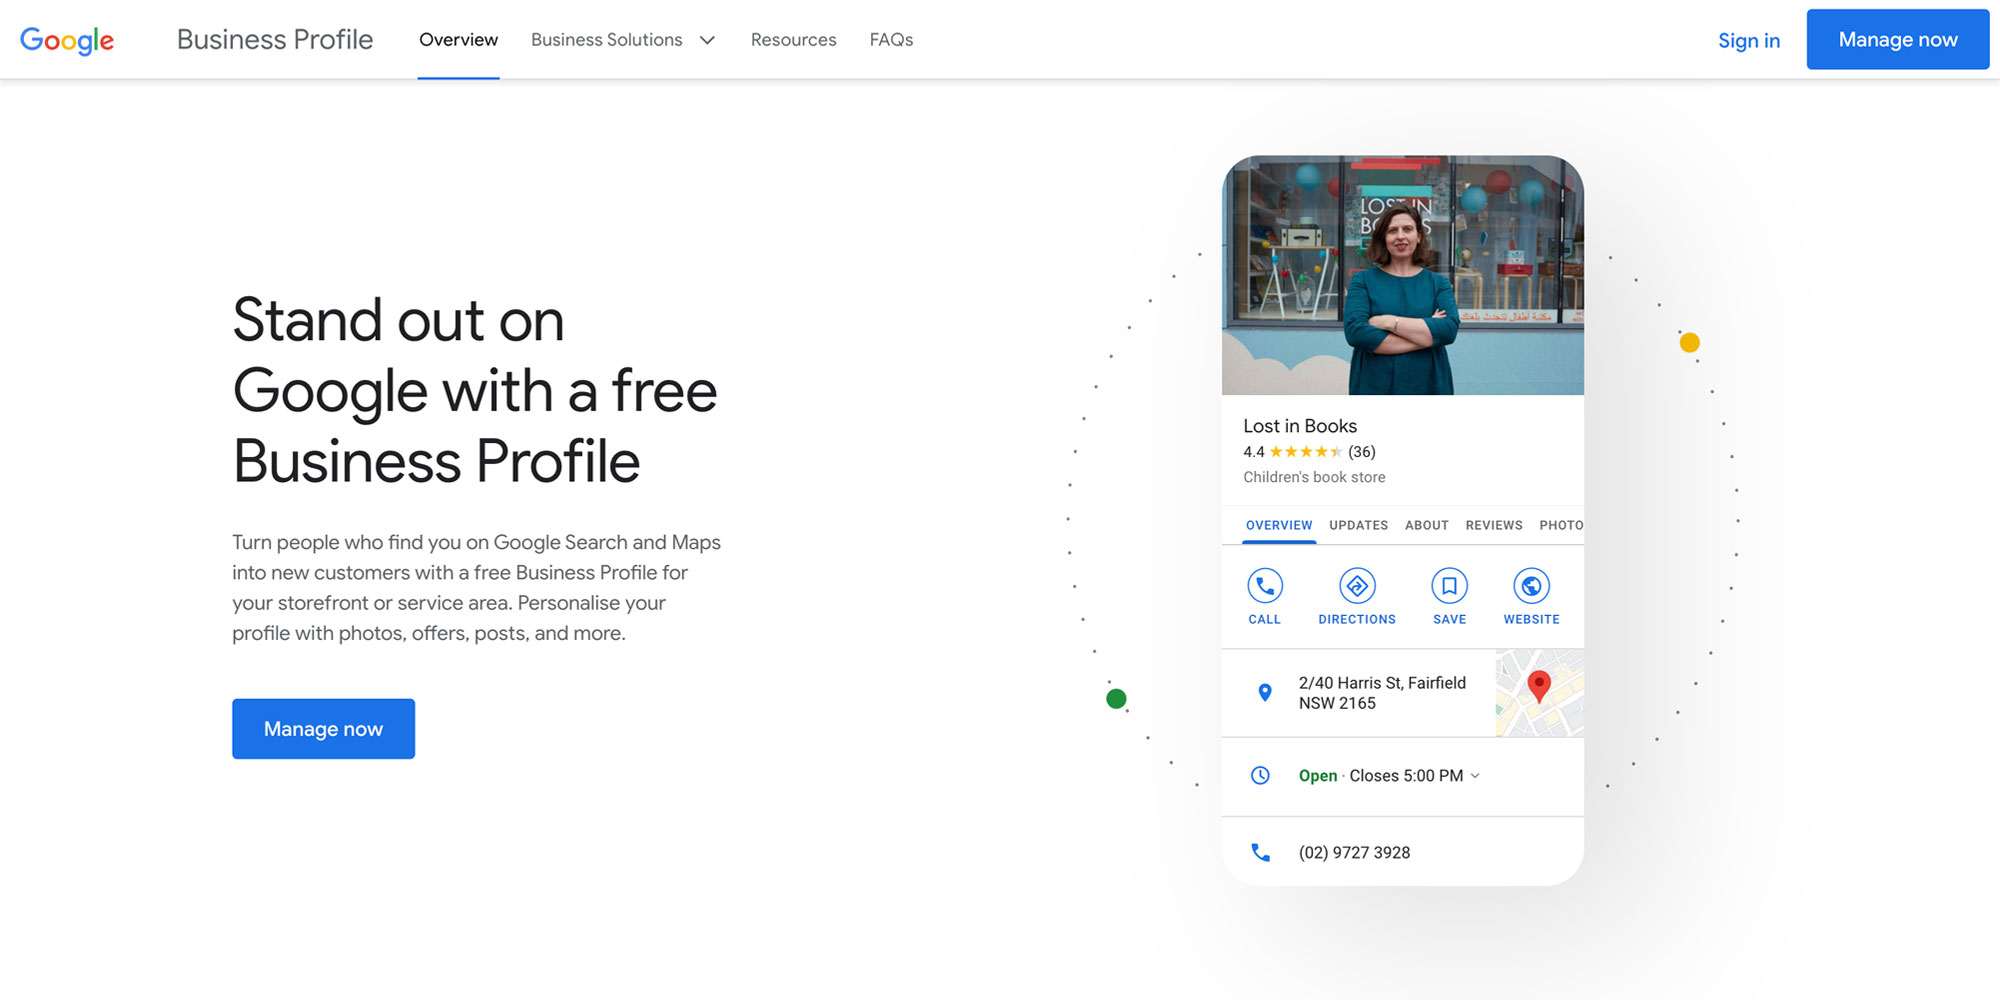
Once you’ve logged into your Google account, head over to google.com/business. Here we will set up Google Business Profile for your business.
Click the blue 'Manage now' button in the top right of the screen.
Sign in to the Google account you want to associate with your Google Business Profile.
You can change this email in future if you wish. It’s also possible to add and remove emails as 'owners' of your Google Business Profile once the account has been set up.
Once you sign in you’ll be taken to the Google Business Profile manager.
3. Adding Your Business Name
If your business has already been around for a while then it's possible Google may have already set up Google Business Profile for your business listing. Google does this by using information that it crawls from the web.
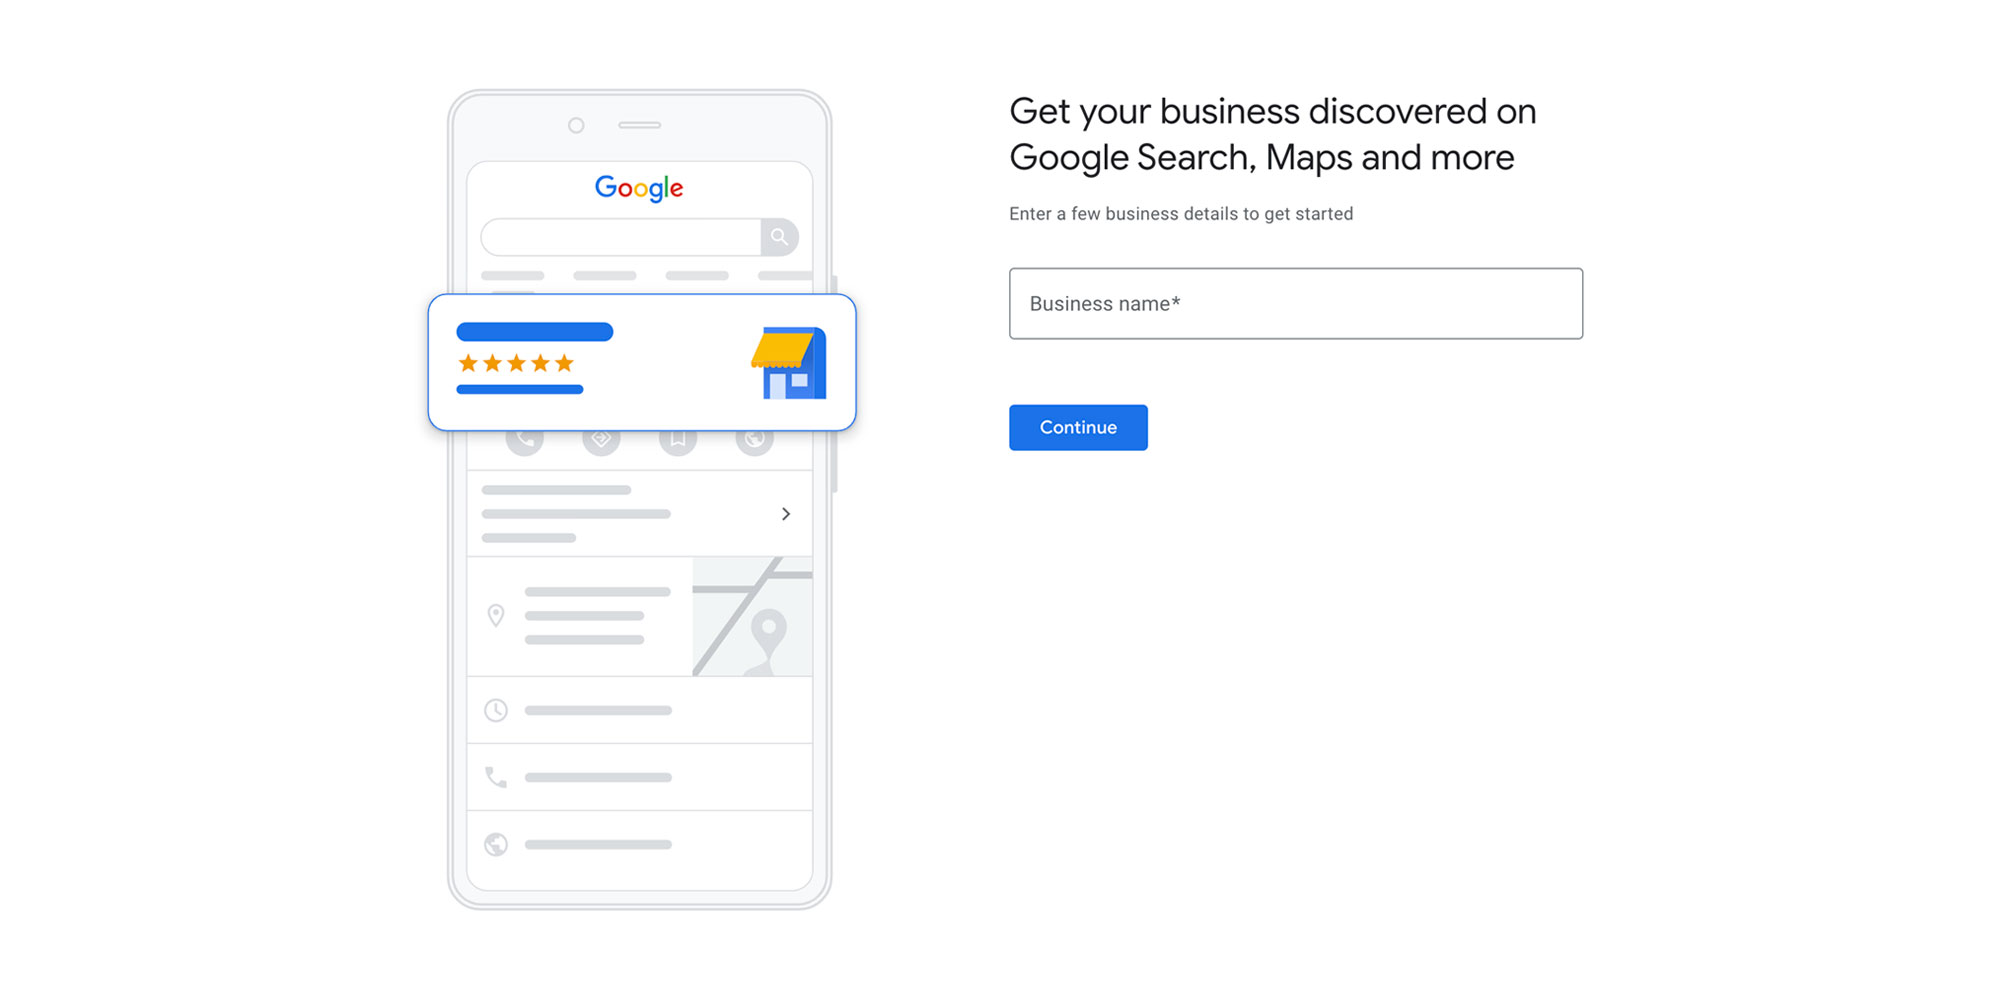
To find out if this has happened, type the name of your business in the search field.
Google will then bring up a drop-down list of options based on the business name you have typed. If you see your business here, select it. If not type your business name and click next.
If you do see your business name you will be brought to a page to request access to your business.
4. Selecting Your Business Type
Google will ask you to choose which business type your business falls into from the following options:
- Online Retail
- Local Store
- Service Business
It’s important to note you can select multiple options here, so choose all the options that apply to your business.
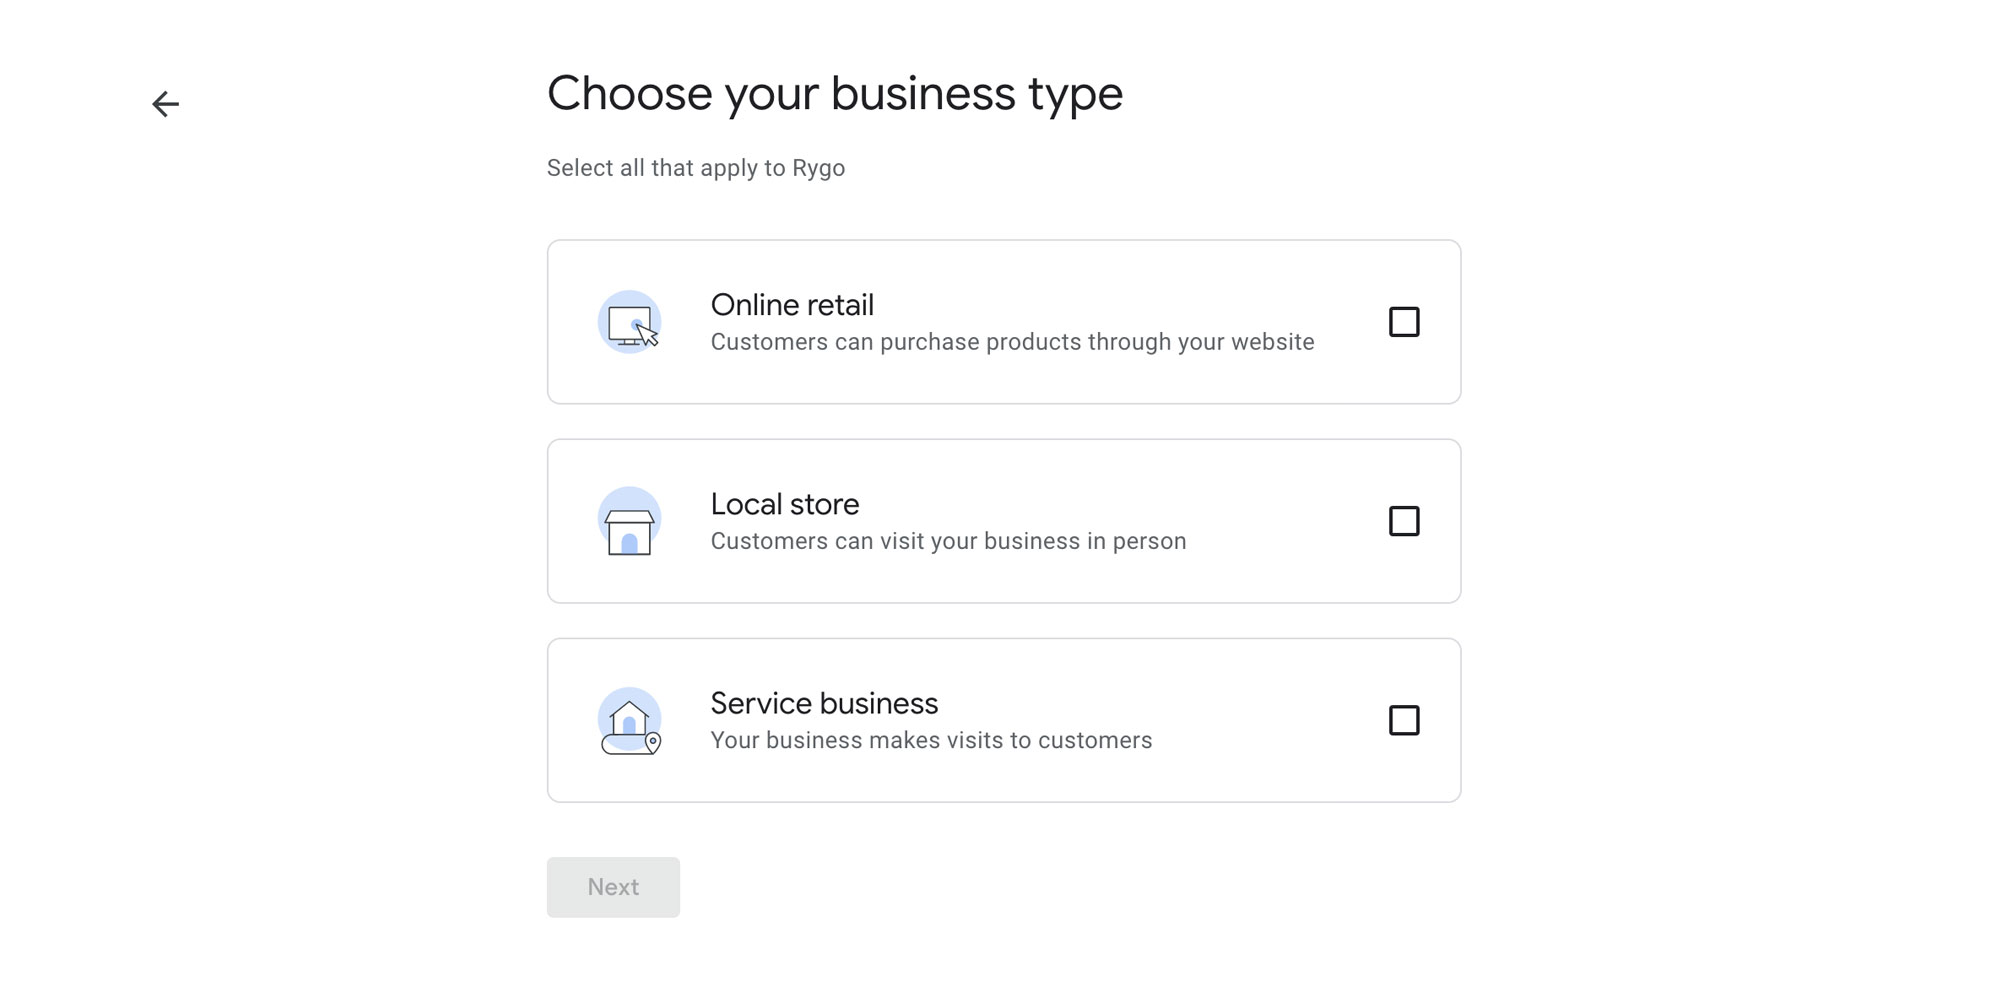
The next steps will vary depending on which business type(s) you chose.
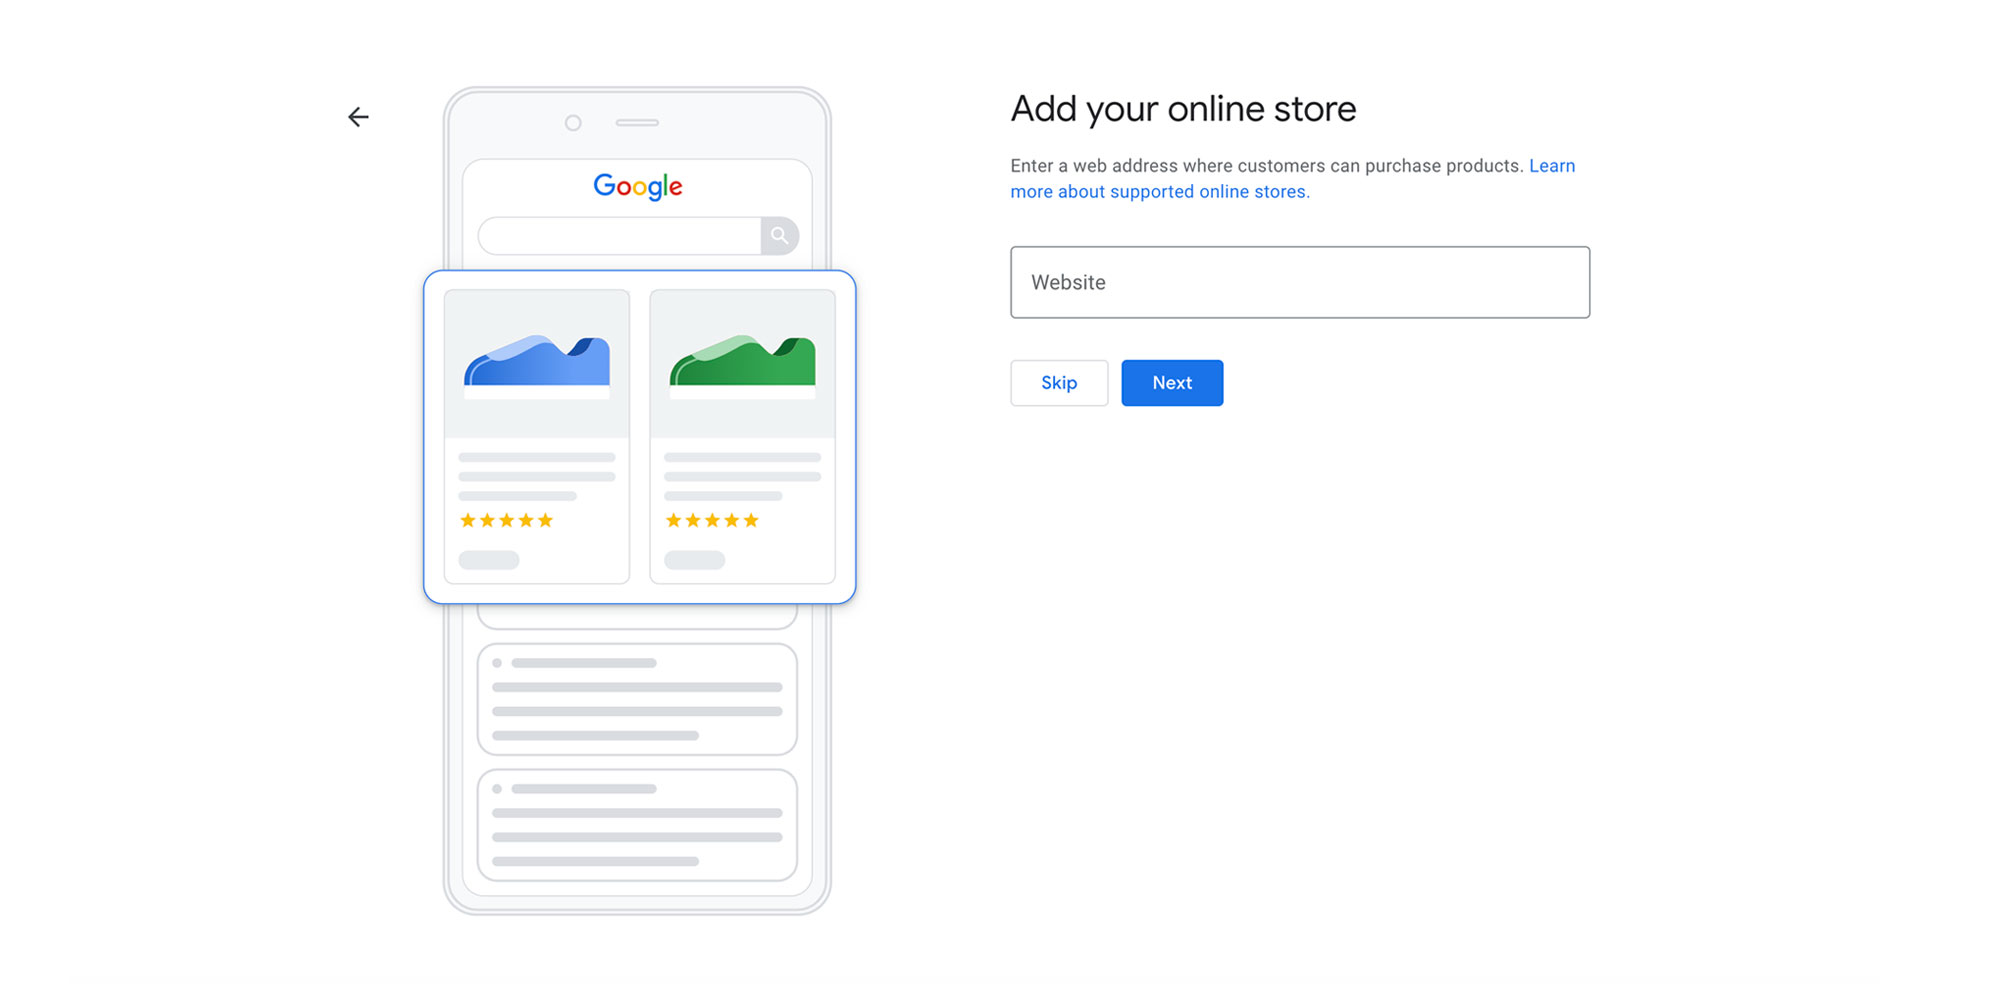
5. Add Your Business URL
If you selected Online Retail as one of your business type selections you'll need to add the URL of your online store.
6. Enter Your Business Category
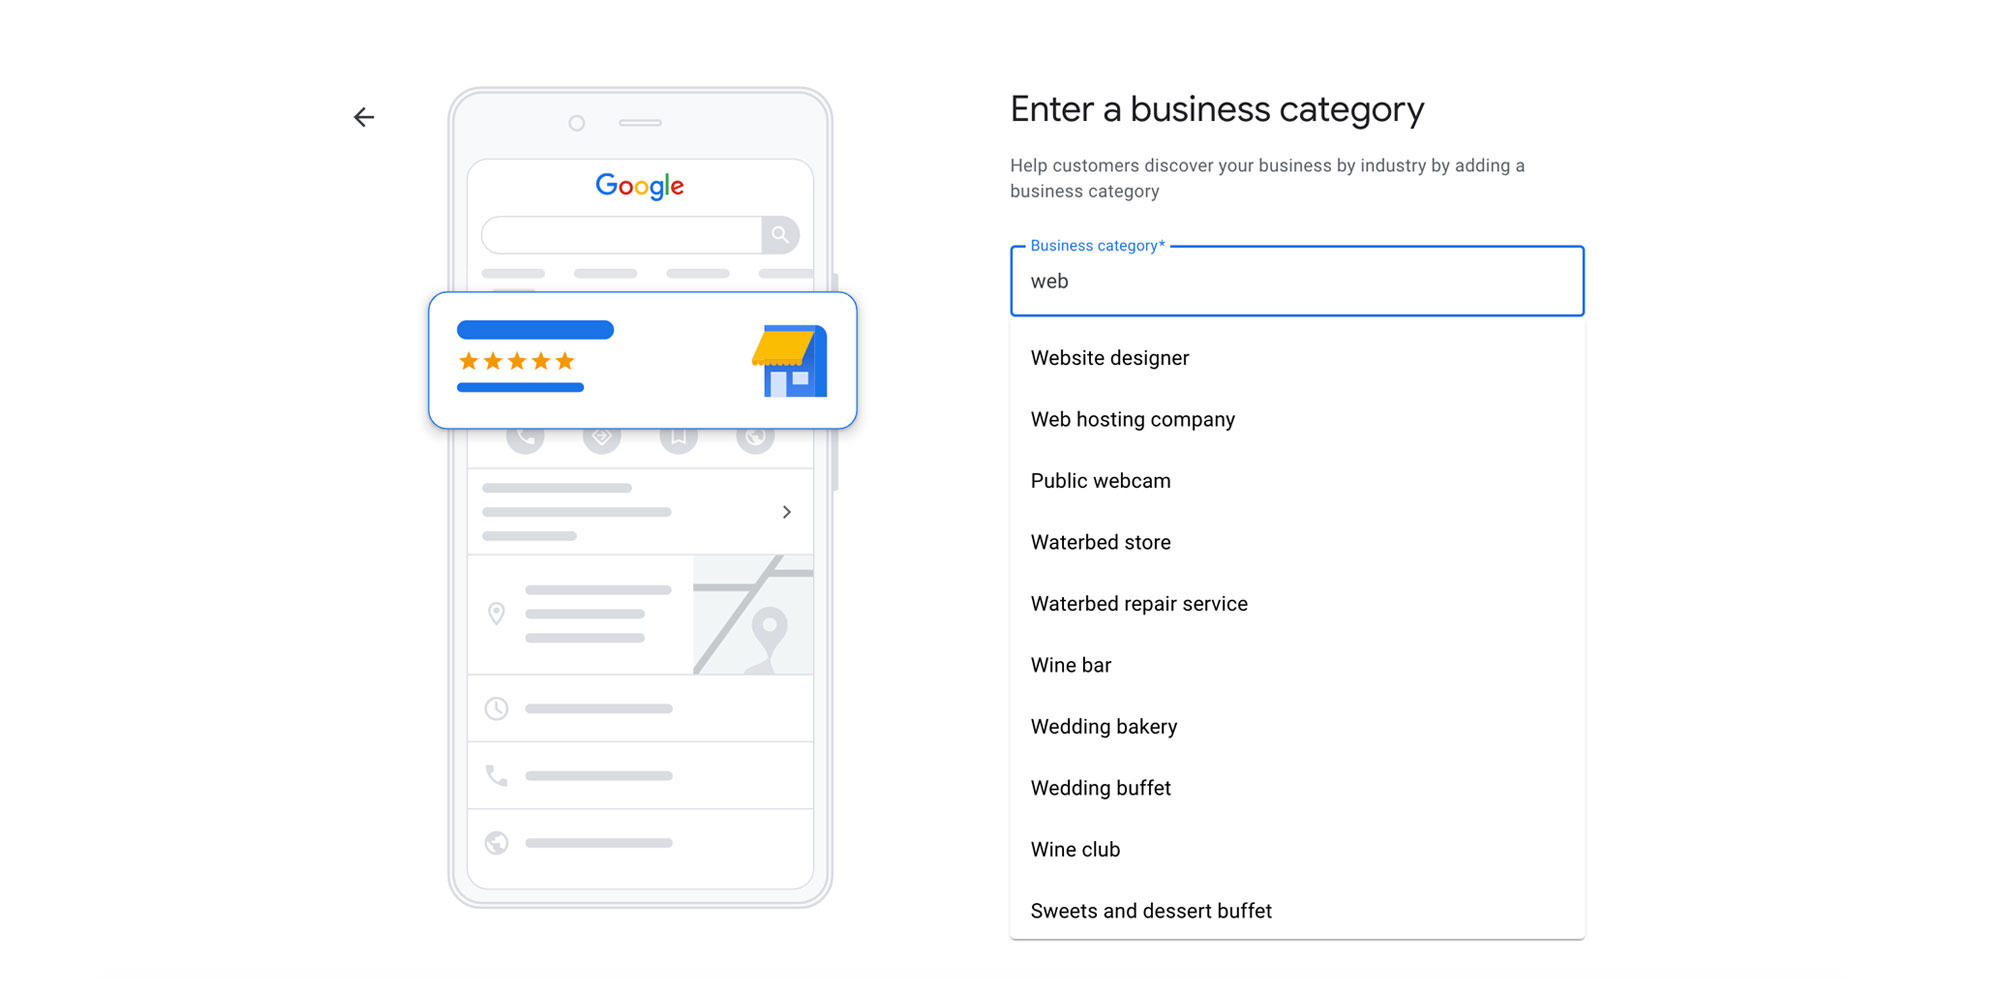
The next step is to choose your business category.
When deciding on your primary category, select the category that is most suitable for your business.
Google will use your category to decide how relevant your business is in relation to keywords that people are searching for. This will then determine where your business ranks on Google local search and Google maps for that particular keyword.
When you begin to type your category in the box, Google will provide options of what you can select. You must select an option that Google provides, you can’t make up your own category.
It can be useful to try several different keywords to see what categories Google offers. Then select the one you feel is most suitable for your business.
It's best to be as specific as possible when selecting your business categories. Choose the category that provides most of your revenue.
Note | You can add secondary categories to your listing once your Google Business Profile setup is complete.
7. Add Your Business Location
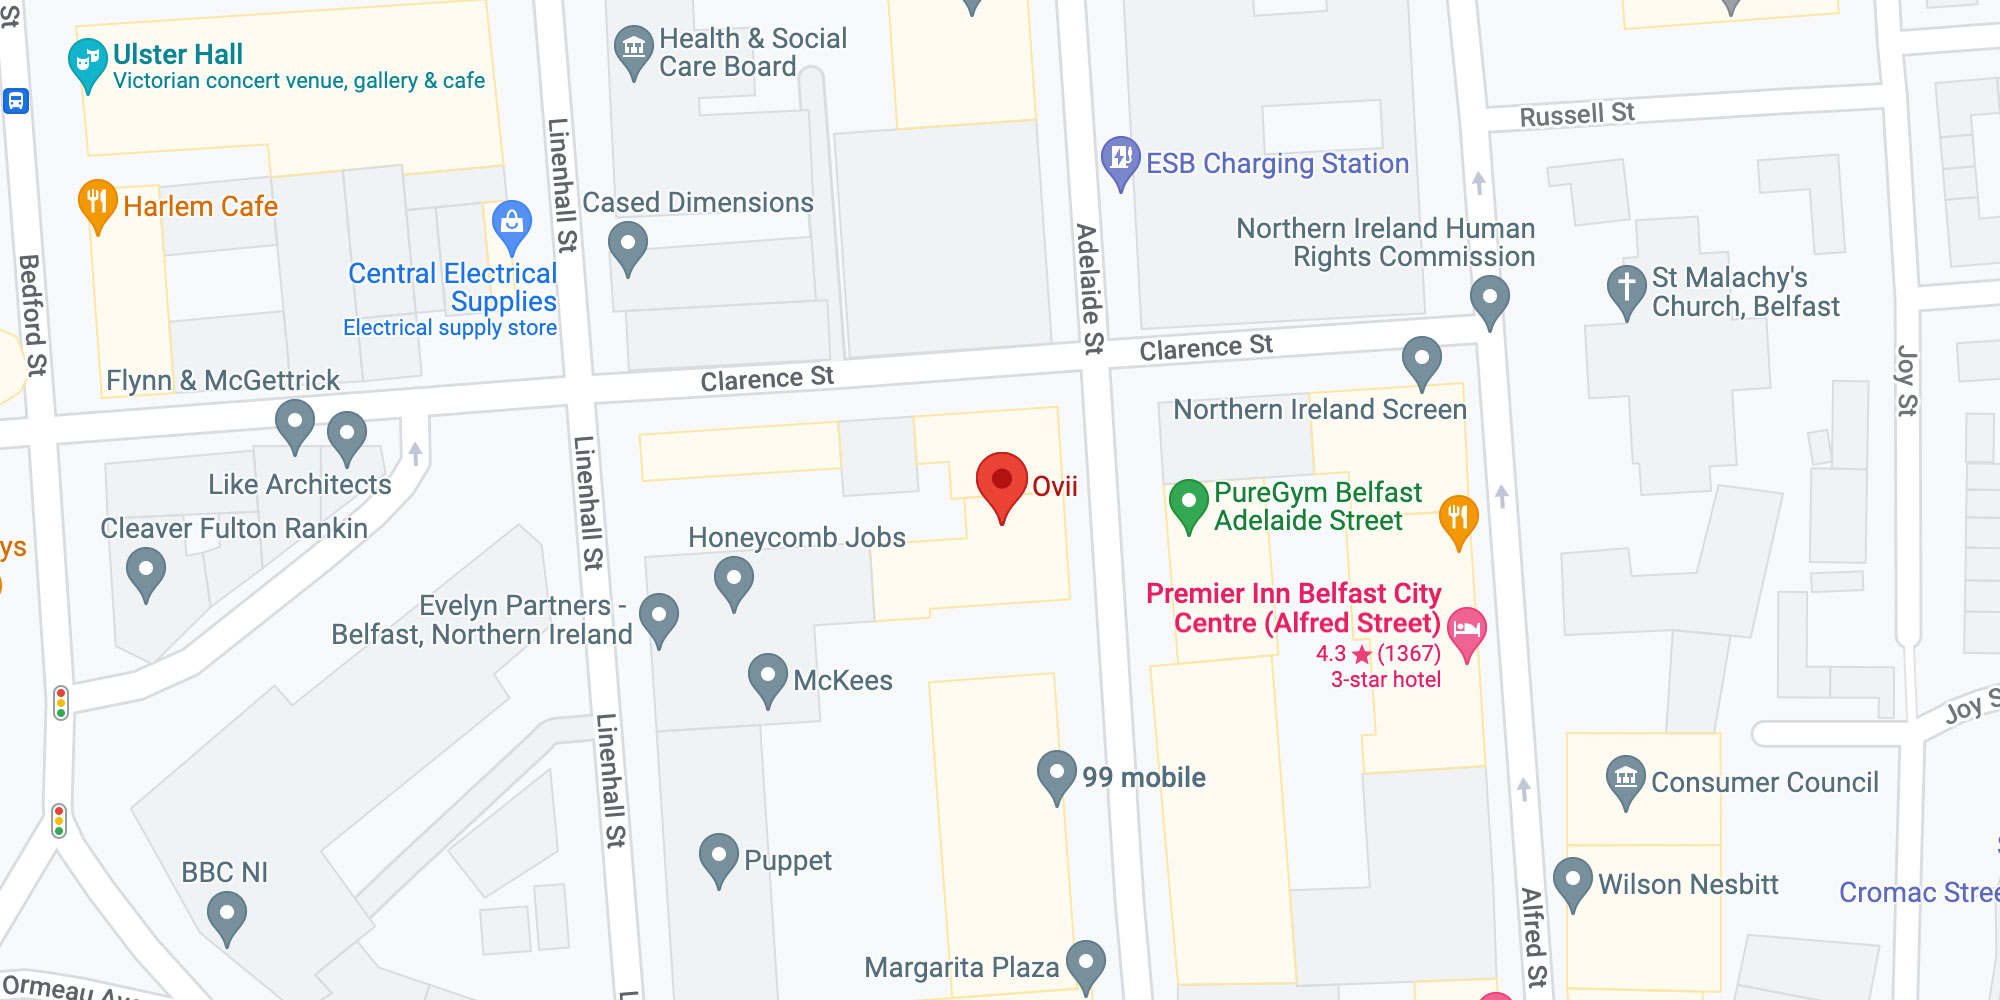
If you selected the ‘Local Store’ option as your business type you will need to add your business location.
This location will show up on Google maps with a red pin.
Enter the physical location of your business and press ‘Next’.
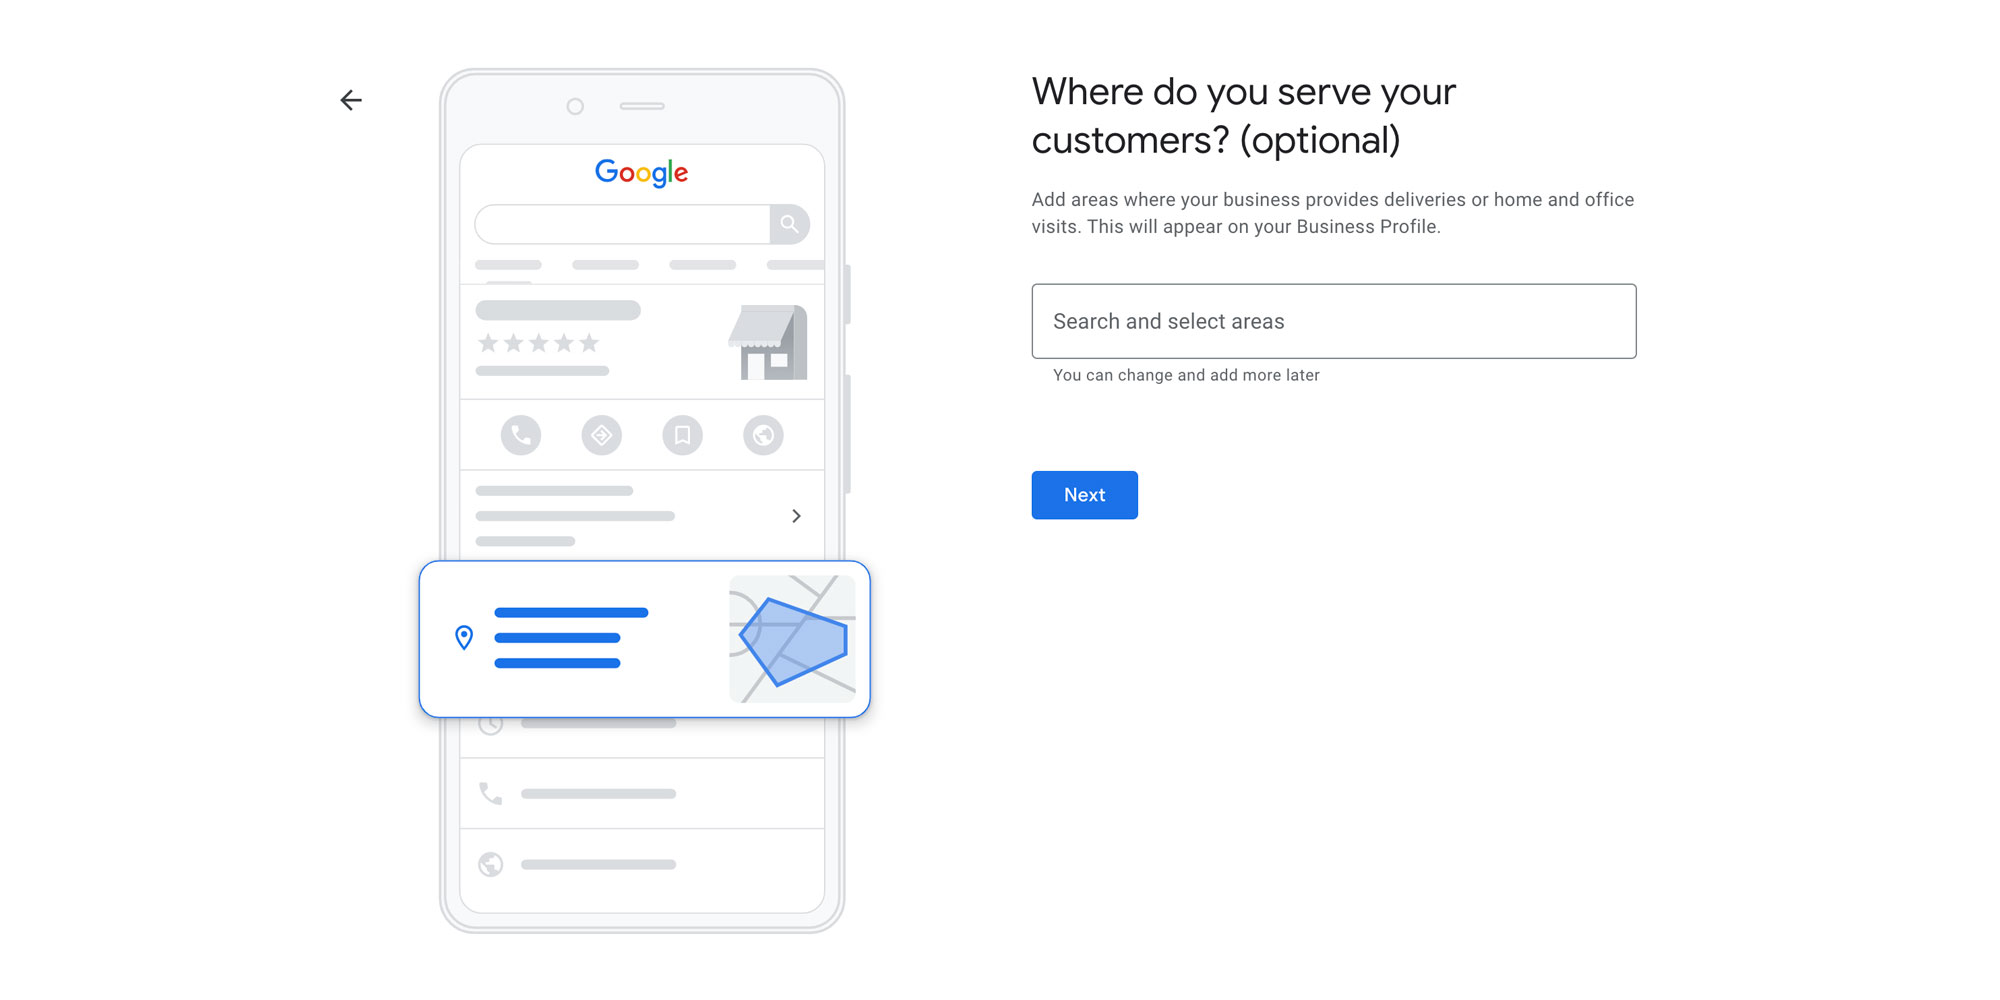
8. Adding Service Areas
The next step is optional and will ask where you want to serve your customers.
These will be areas that your business provides deliveries to, or home and office visits.
When choosing locations, they can be particular cities or towns, or an entire country.
For service area businesses, your business will not be represented with a red pin on the map. Instead, the service area that you cover will display on the map with a red line. This will show the area your business operates.
Note | It’s also possible to add or remove service areas once your Google Business Profile has been set up.
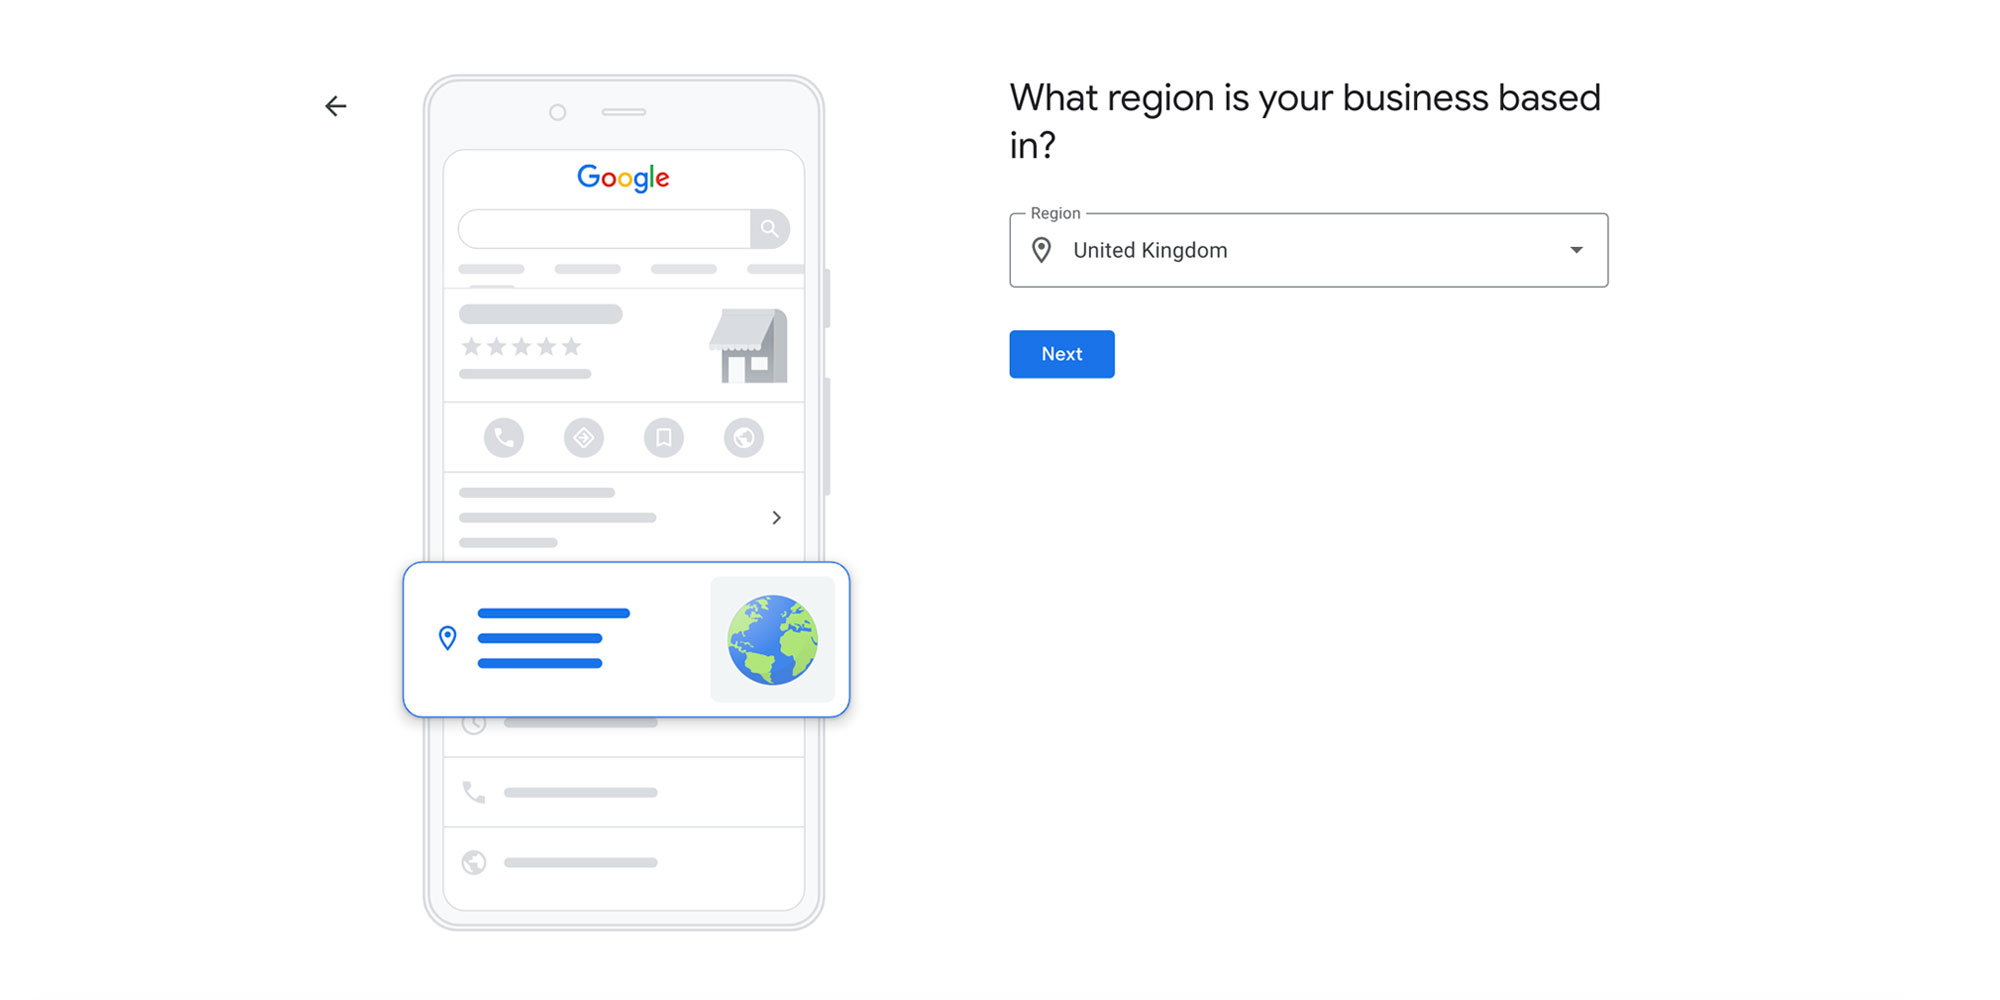
9. Add Your Region
You’ll then need to specify the region your business is based in.
For this simply select your country.
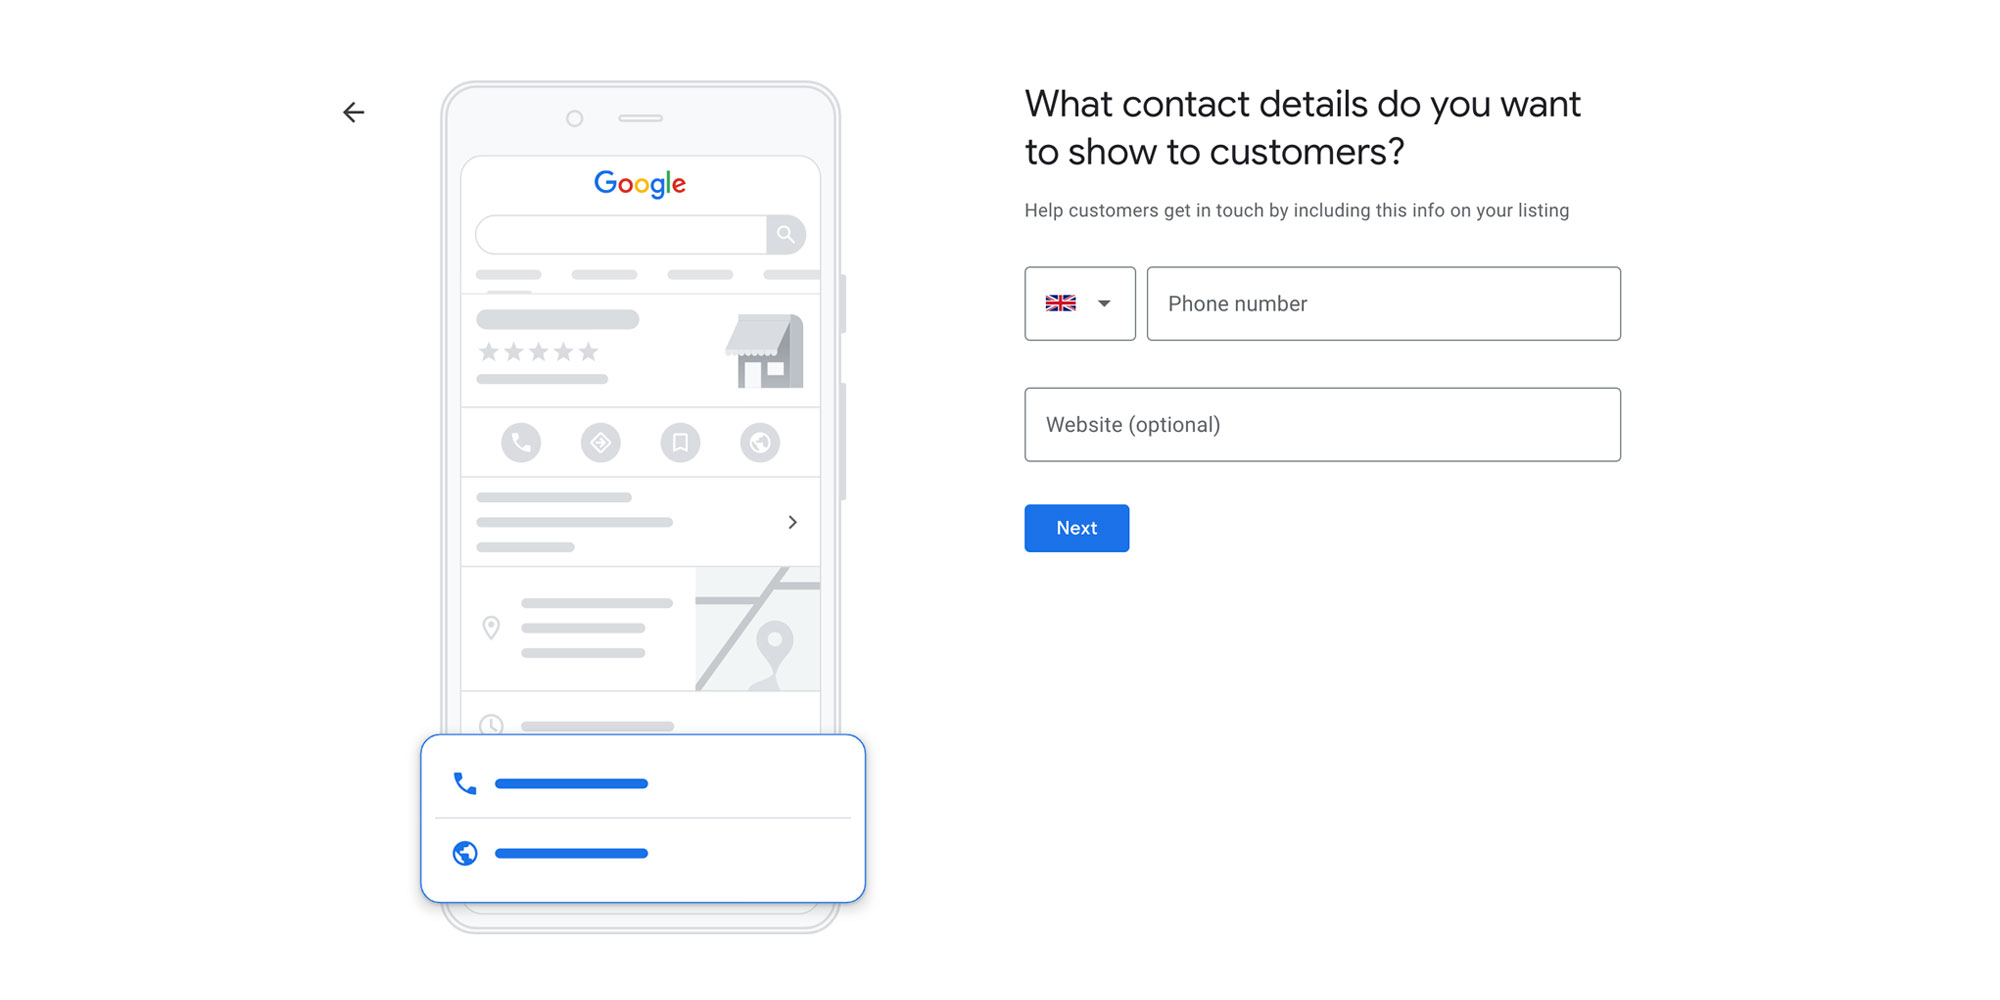
10. Adding Contact Details
The next step requires you to provide the contact details you want to show to customers.
These details will show on your Google Business Profile.
Add your contact phone number and website. If you don’t currently have these you can skip this step and add them at a later date.
11. Verification
Before your profile becomes visible to the public it needs to be verified.
Verification is also required to allow you to manage your business information.
In order to do this Google uses different verification methods. These depend on the business type you selected at the start of the setup process. Your geographical location can also affect the type of verification Google requires for your business.
You can’t choose which verification method you use to verify your business, this is set by Google.
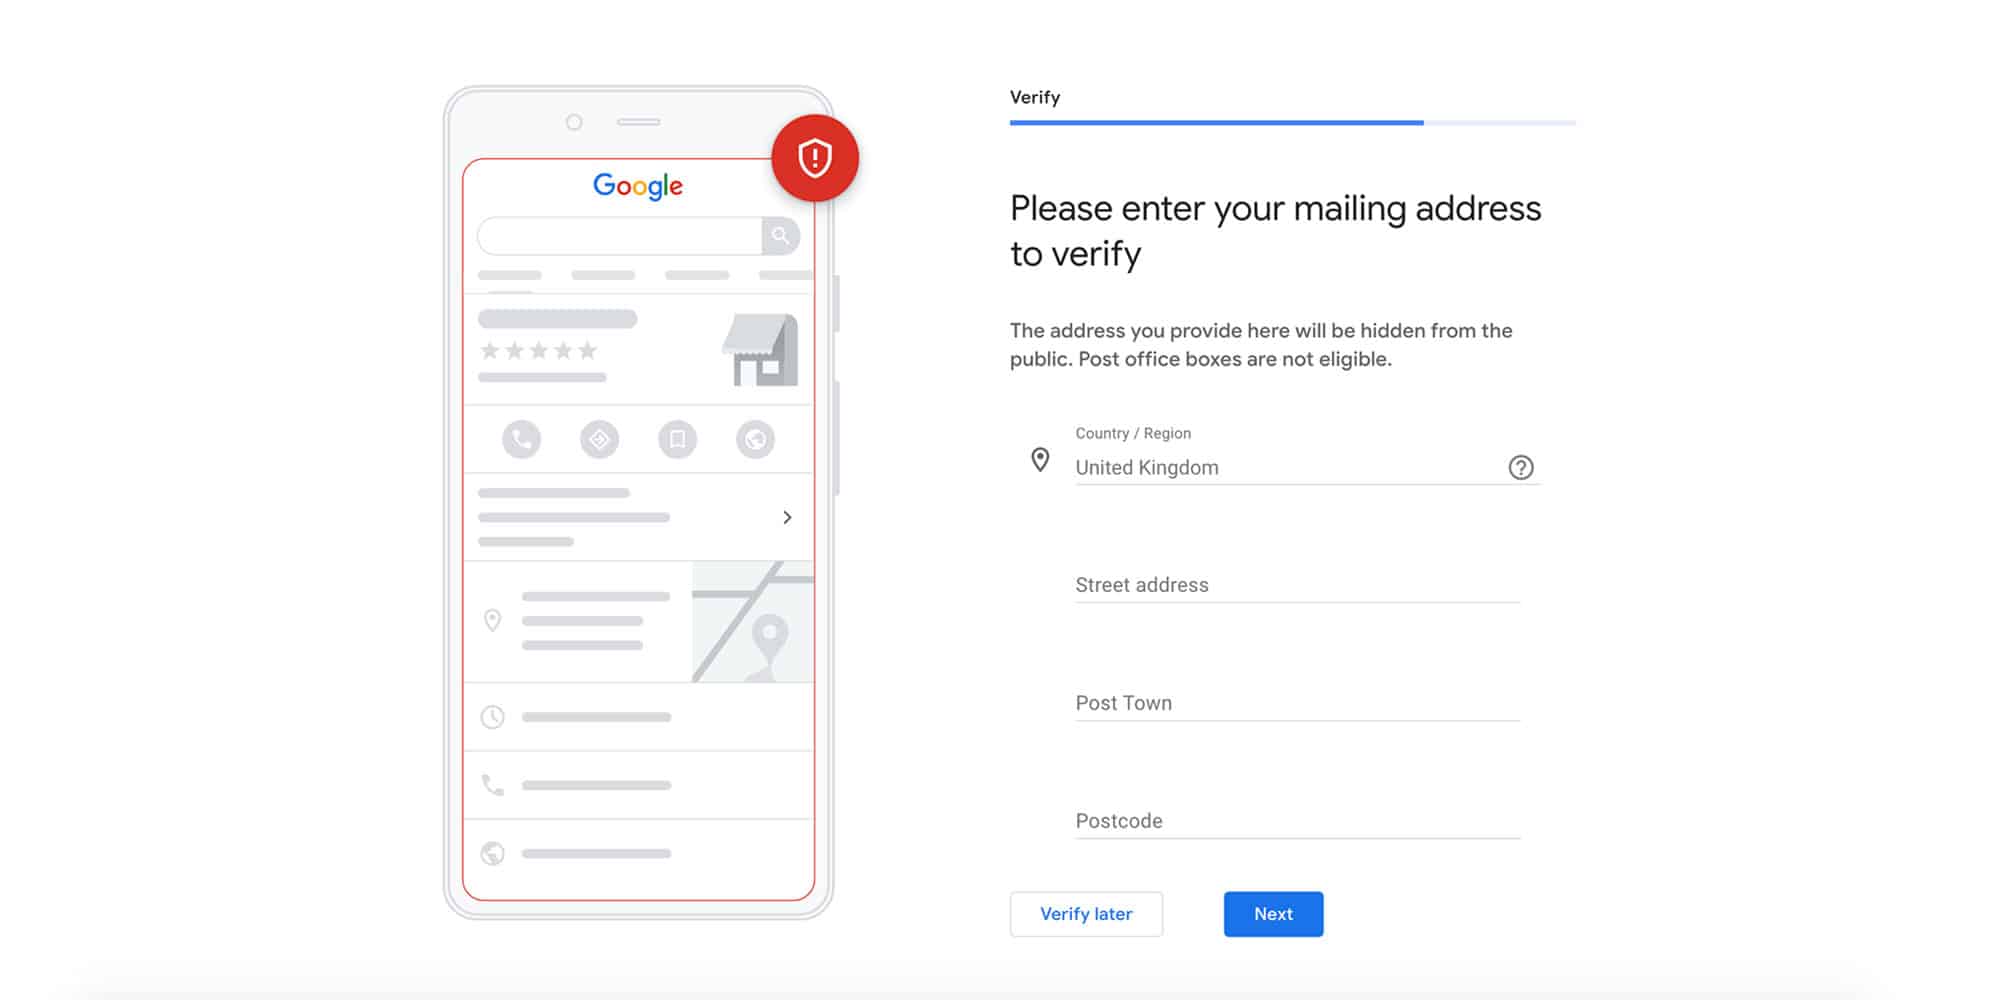
Postal Verification
At present, the most common verification method is by post. To complete this verification, add the postal address of your business and click on ‘Next’.
Then enter your contact name is the following page and click on ‘Mail’.
Google will now send out a postcard containing a verification code. This usually arrives in 4 days but can vary depending on your location.
When your postcard arrives you’ll need to log into your Google account and visit the URL specified on the postcard. Enter the code on your postcard to verify your Google Business Profile.
Video Verification
Some businesses will require verification using a video recording. This involves creating a video that includes outside signage or the street name of your business.
The video will also need to show the inside of your business or the tools of your trade. The video will need to show access to items or areas that only employees can access.
You should shoot this video in 1 continuous recording. To do this log into your Google account on your mobile phone. Scan the QR code on your desktop screen that Google provides, then start recording.
You will then need to schedule a time with a Google representative for the video verification code.
Phone Or Email Verification
This is the least common verification method. It requires you to verify your Google Business Profile via a phone call or email. Each method will provide a verification code for you to enter to verify your business.
12. Add your services
Once your business has been verified it's time to add your services.
You can carry out this part before verification if you select ‘Verify Later’. Bear in mind though, that your business listing is not shown to the public until verification is complete.
For adding your services, Google will provide some default services that relate to your business category. You can use these if applicable or add custom services using the ‘Add custom service’ button.
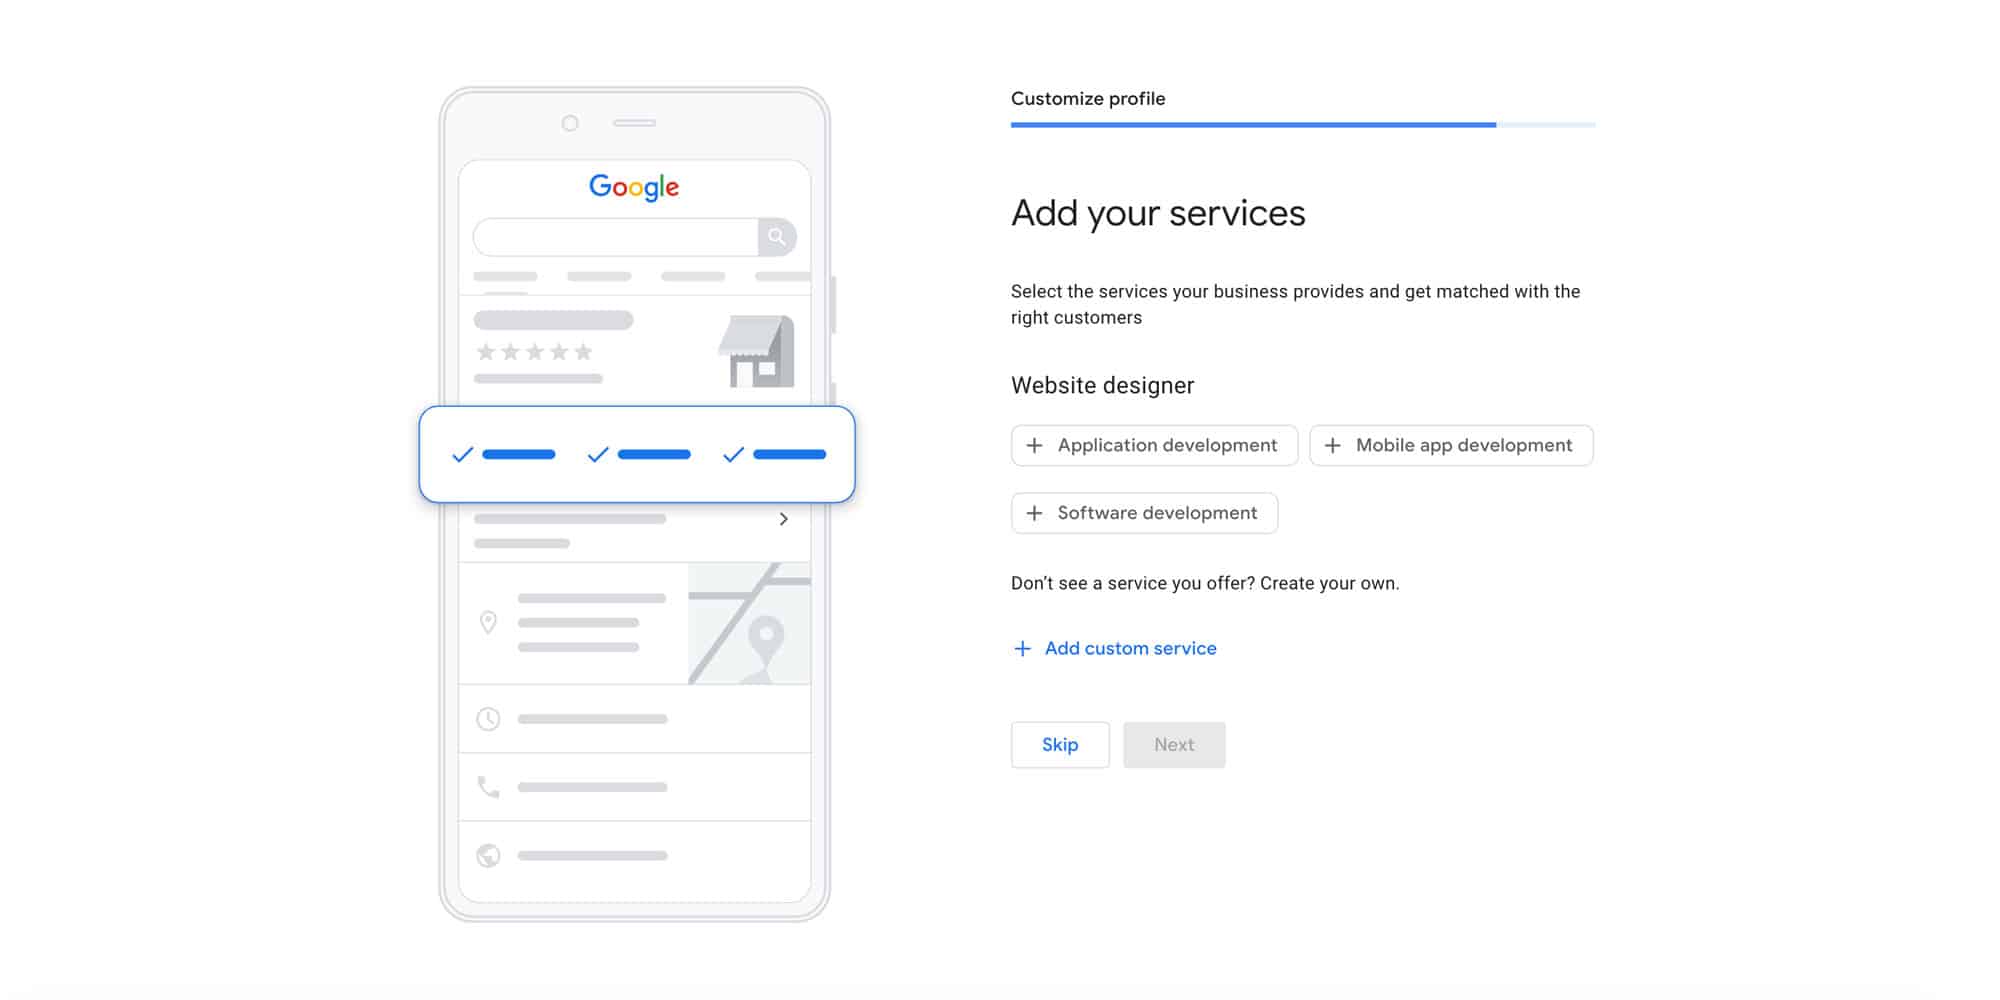
Adding services is also an excellent opportunity to add keywords to your business. This will do 2 things:
- It will allow customers to see all of the services you offer
- It will improve your appearance in search engines when people search for those particular services.
Note | If you need to edit these services in future you can add and update them in the Services section in the Google Business Profile Manager.
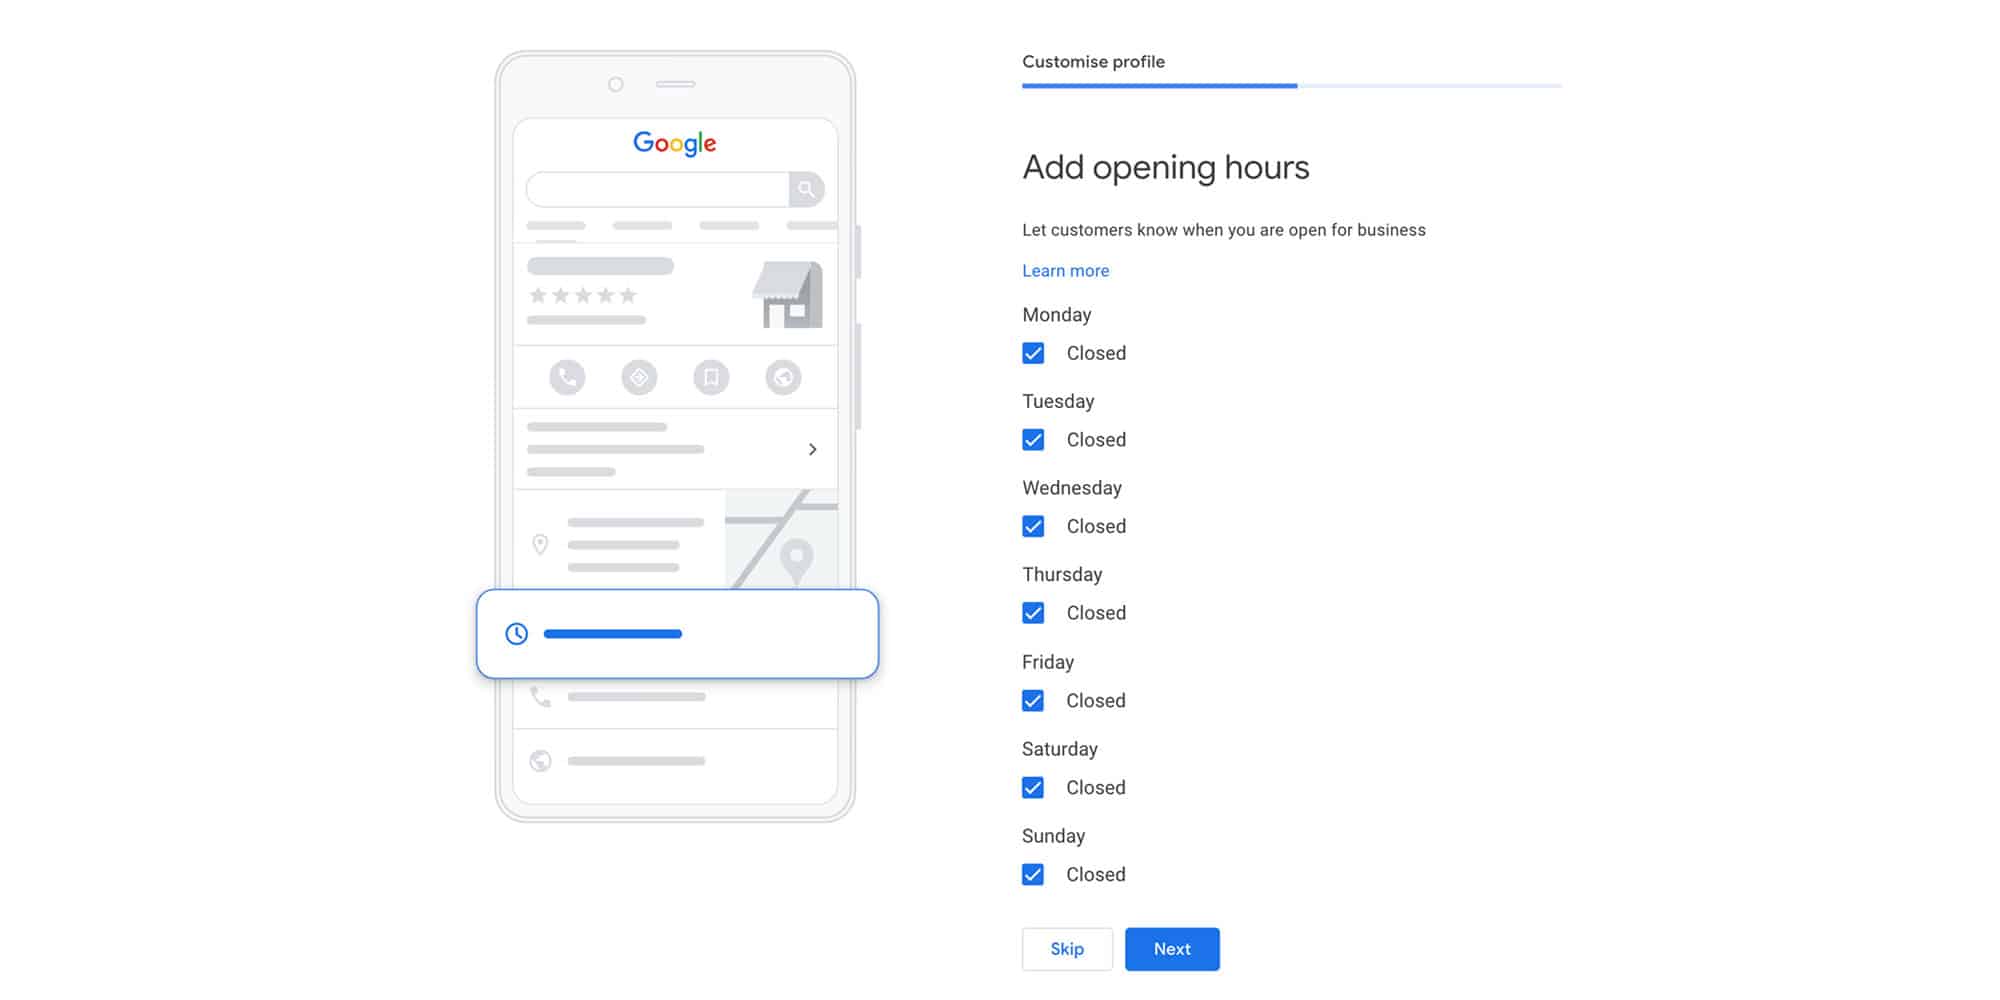
13. Add Business Hours
Set the opening hours of your business making sure they are accurate. You can edit these in the 'Edit Profile' section of your Google Business Profile.
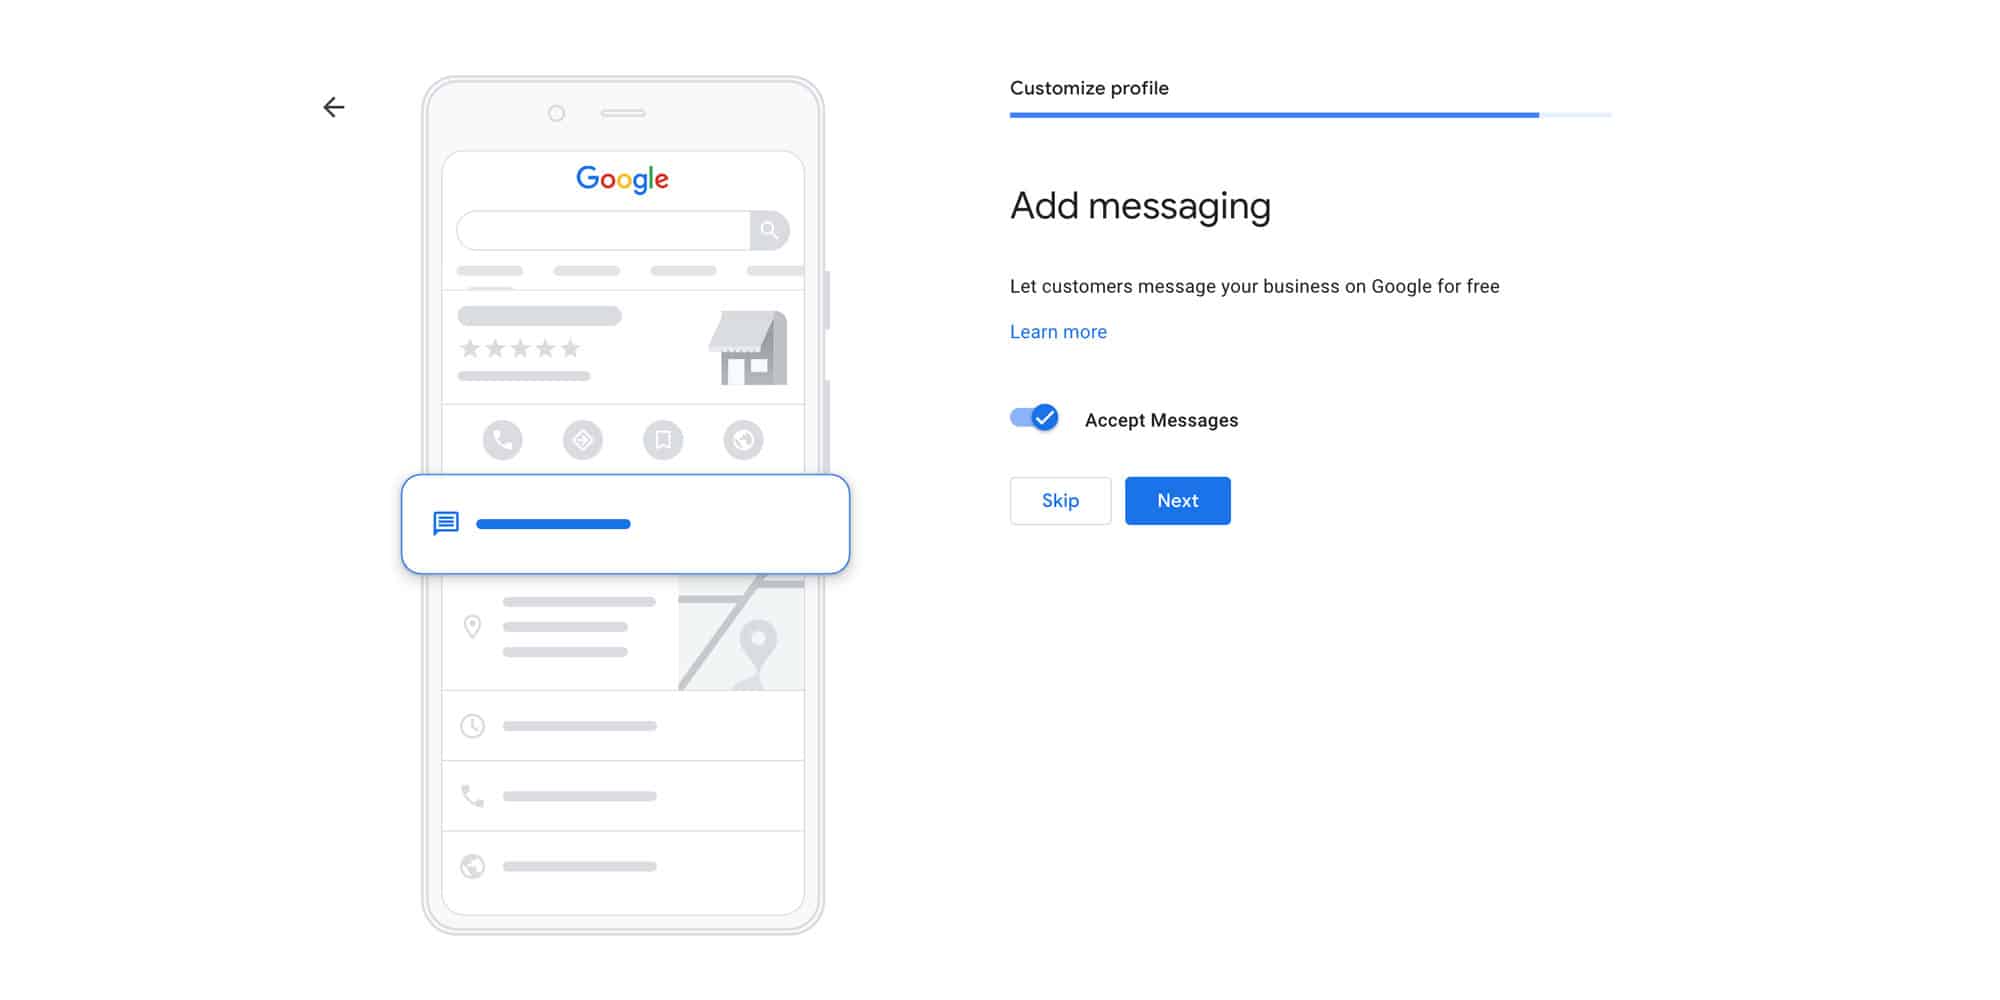
14. Enable Messaging
Set the opening hours of your business making sure they are accurate. You can edit these in the 'Edit Profile' section of your Google Business Profile.
15. Add Business Description
Your business description will appear at the bottom of your business profile panel.
It's important to note that your Google Business description does not impact search rankings. With this in mind, you don’t need to write your business description focusing on keywords.
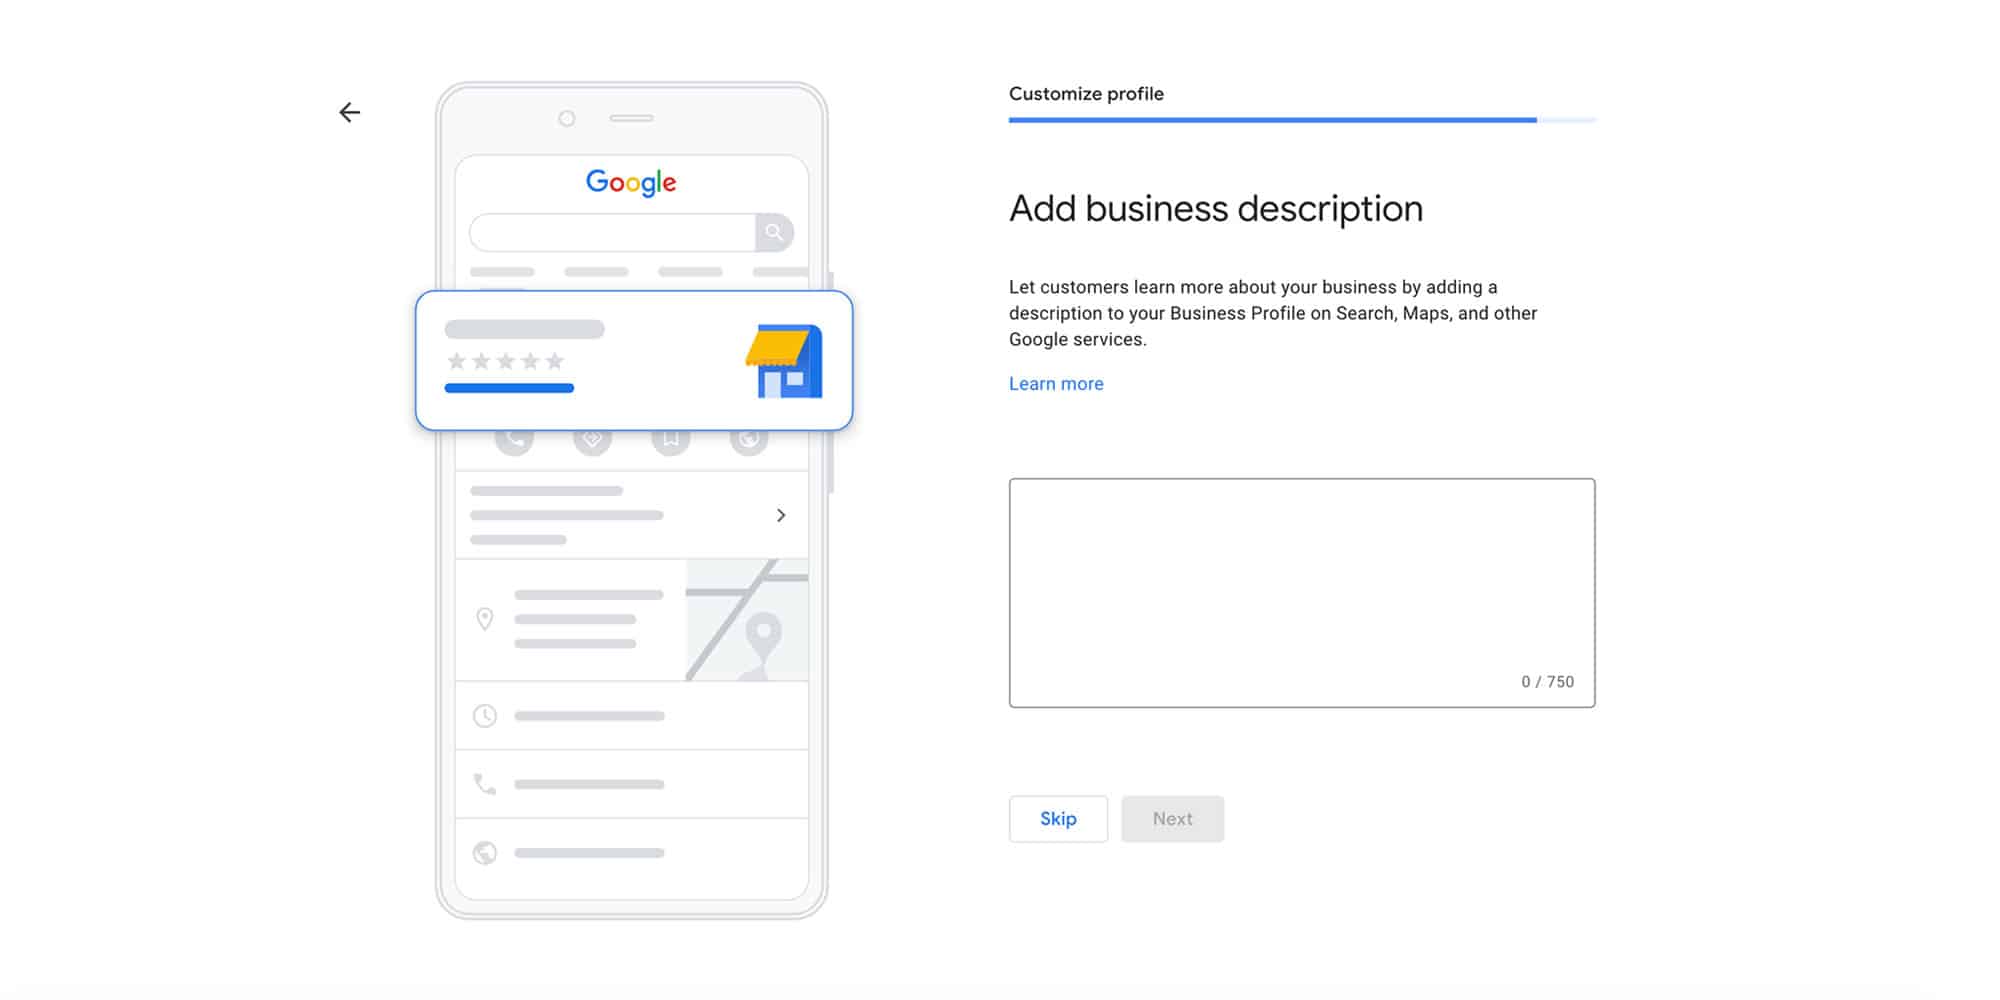
The best way to write your business description is to make it natural and answer the following points:
- What your business does
- What services you offer
- What makes your business unique
- The history of your business
Think of your business description as an 'About Us' page on your website.
Learn more about how to write an effective Google Business Profile description.
16. Add Photos Of Your Business
The aim of your photos is to sell your business and make it more attractive to potential customers.
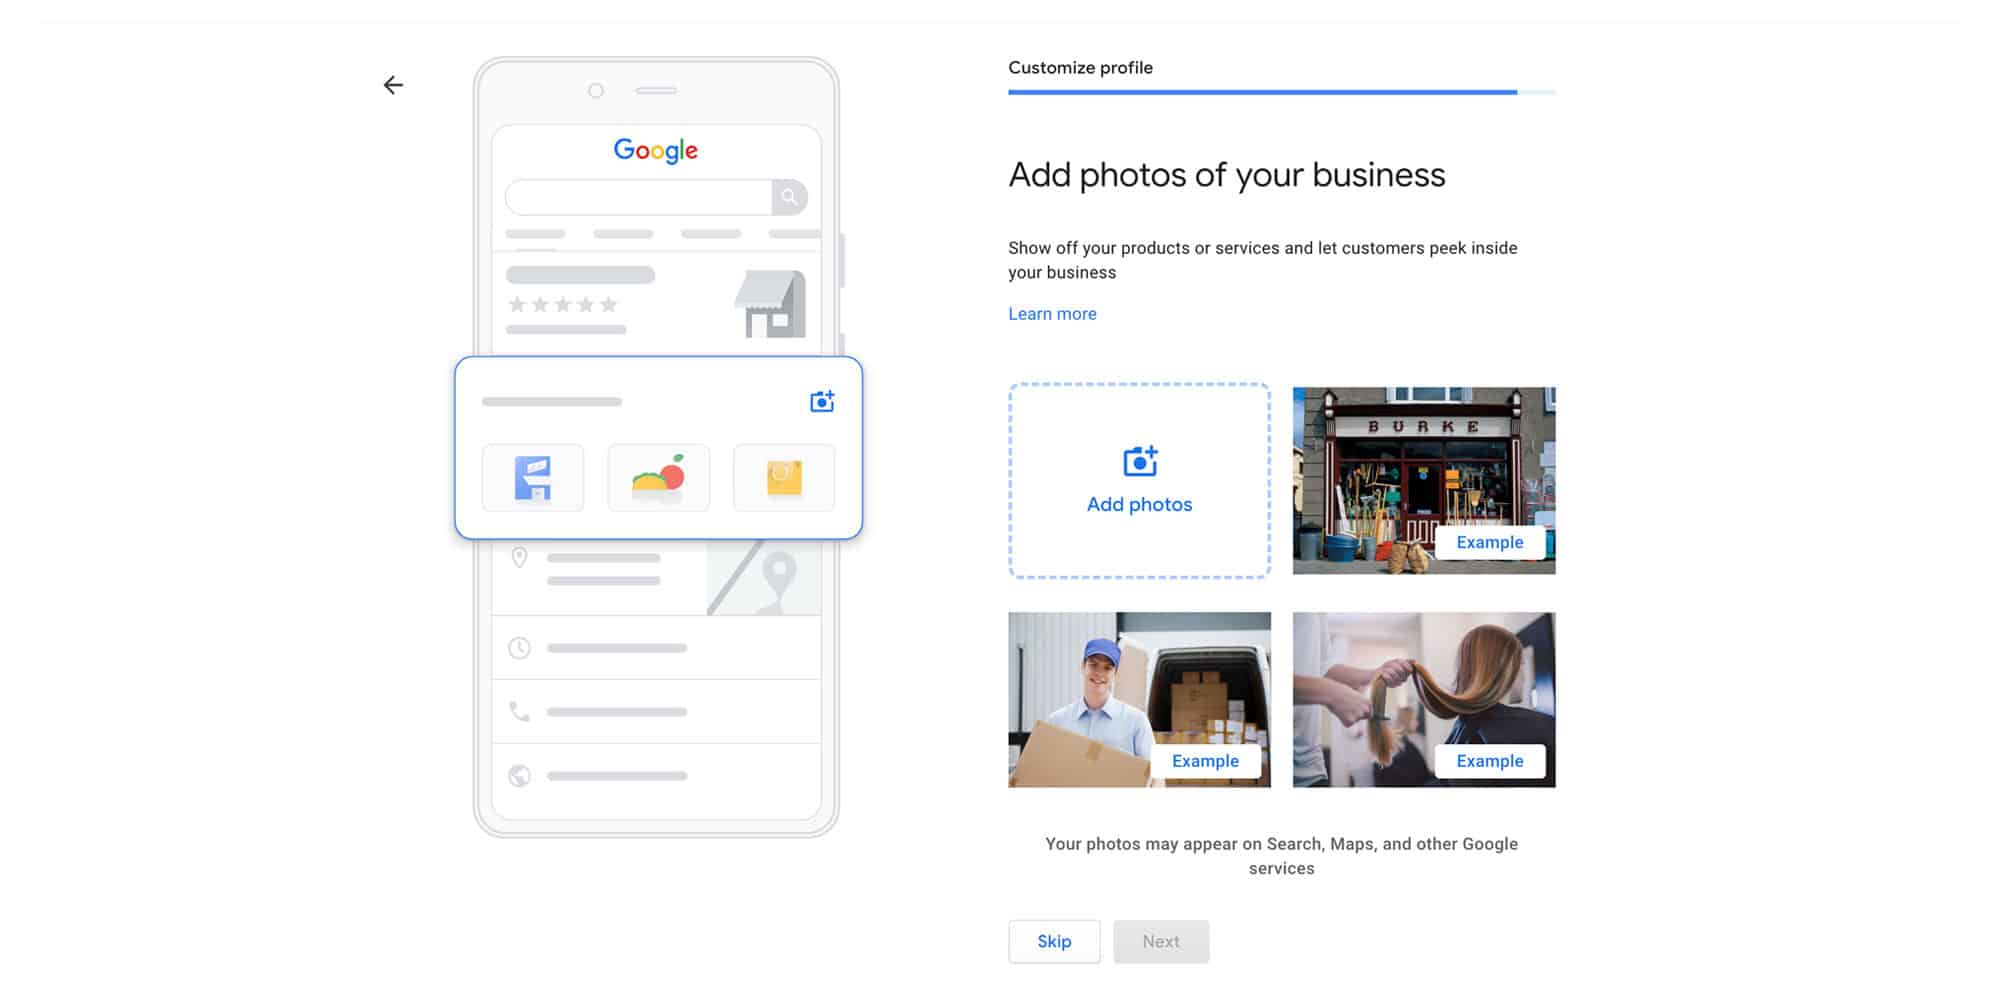
Some photos ideas include:
- Your store front
- Some of the services you provide
- Some of the products you sell
- Your team members
- Inside your business
Note | It’s not recommended to use stock photos. Google is now able to identify photos and will view stock photos as less authoritative. This can impact your search rank. Make sure your photos are unique to your business.
17. Optional Steps
Google will then offer you some free advertising credits and the option to get a custom domain name for your website. You can skip past these if not required at this time.
After this you'll be asked to continue to your Google Business Profile.
18. Editing Your Profile Information
Once you click continue it will take you to your Google Business Profile manager.
The simplest way to get to your profile to make edits in future is to sign into your Google account. Then in Google, search ‘My Business’.
This will bring up the page below. Select the blue 'View Profile' button at the bottom of the page.
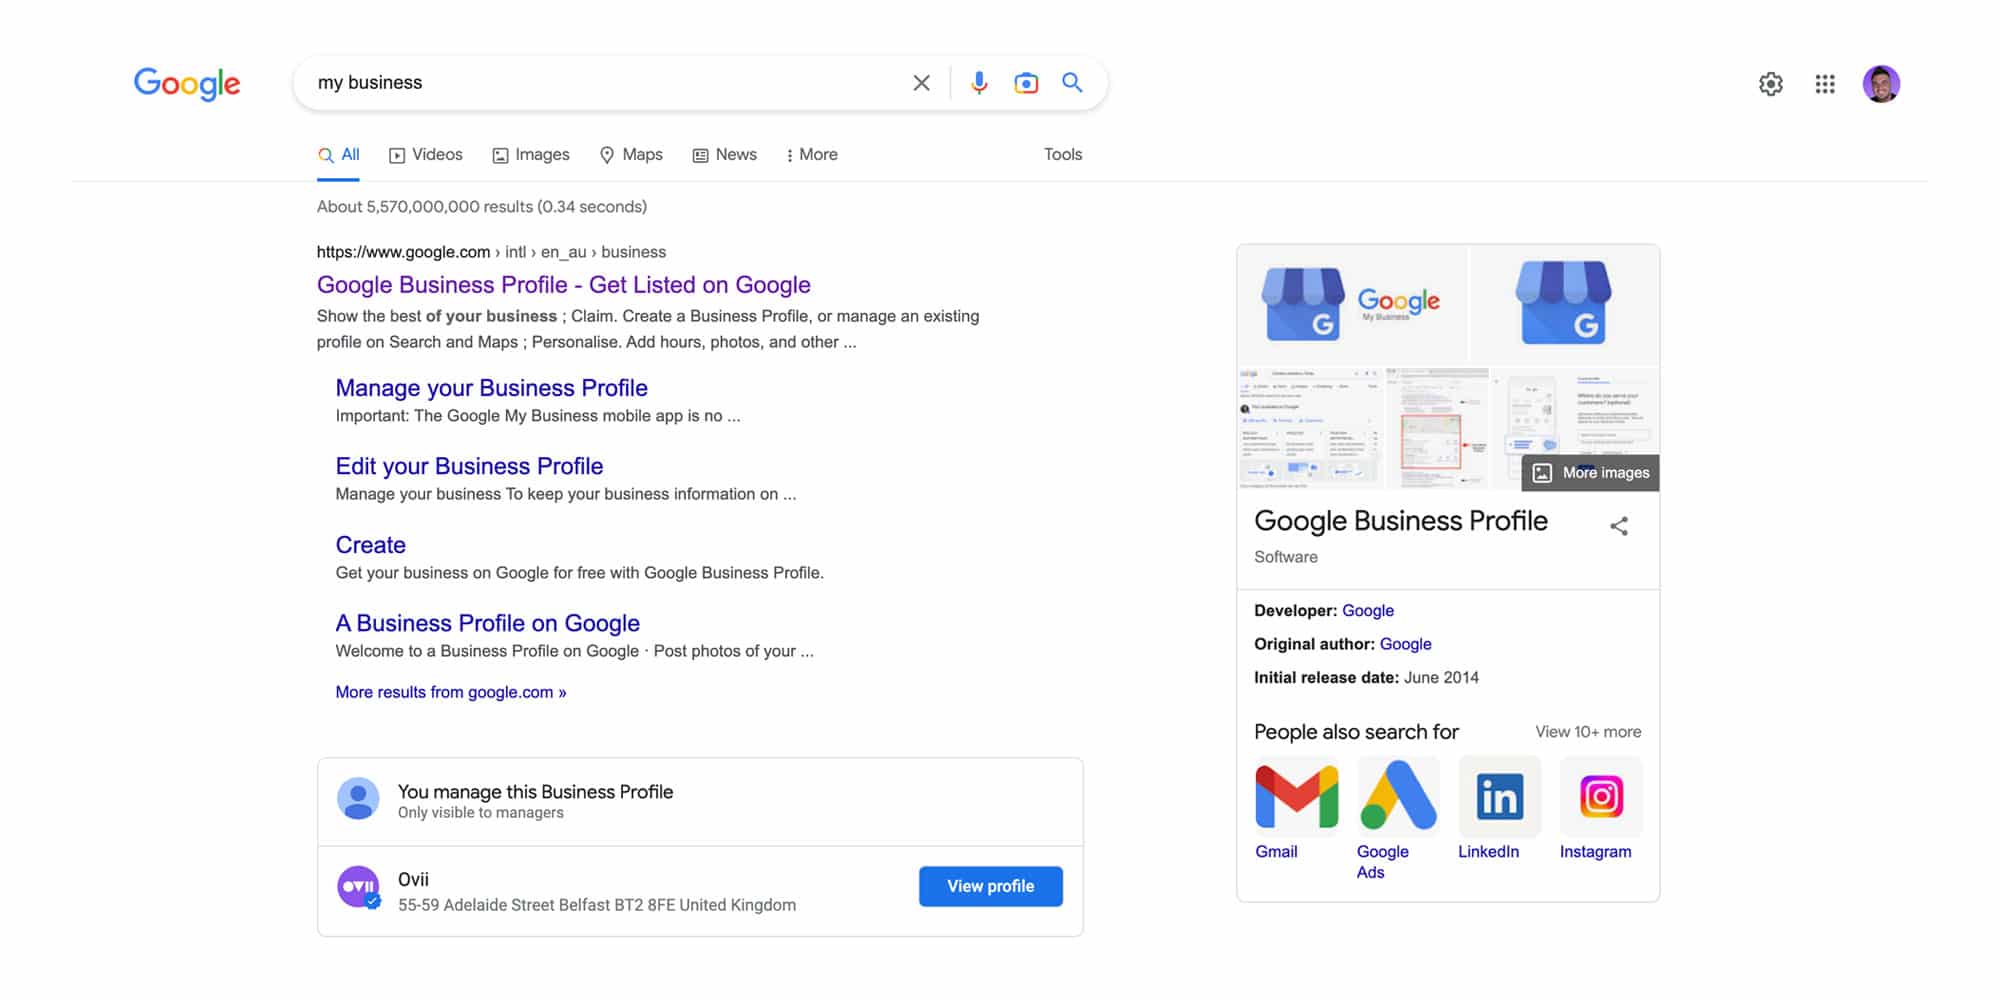
This will bring you back to the ‘Your business on Google’ page with the list of icons. Click these icons to update the corresponding areas of your business information.
19. Add A Logo
One of the most important steps to take on your Google Business Profile manager is to add a logo.
From your Google Business Profile manager page, click the ‘Add photo’ icon. Then select the Logo option.
Google states the best size for your logo is 720 x 720 pixels, with the smallest resolution being 250 x 250 pixels. Your logo should have no excessive alterations.
Select the logo from your computer and upload it to your Google Business Profile.
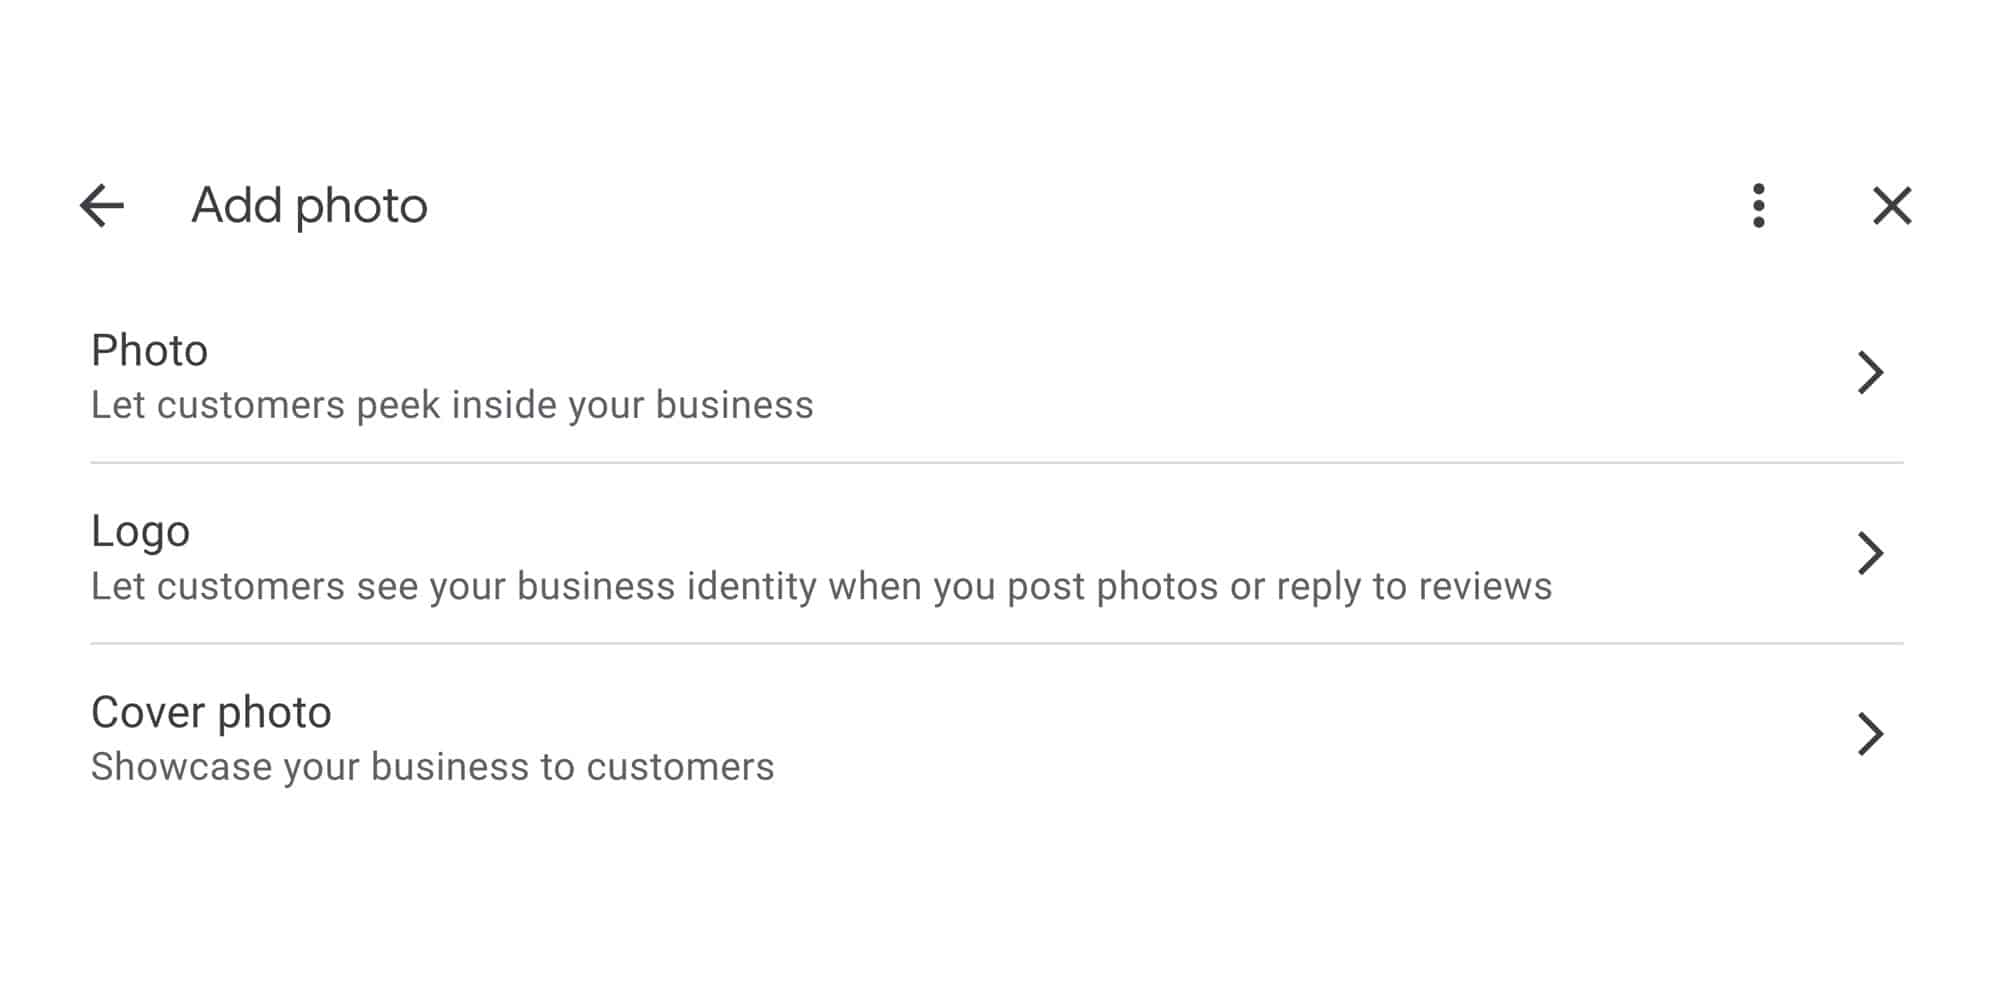
20. Add A Cover Photo
Apart from your logo, your cover photo is the most important image on your Google Business Profile.
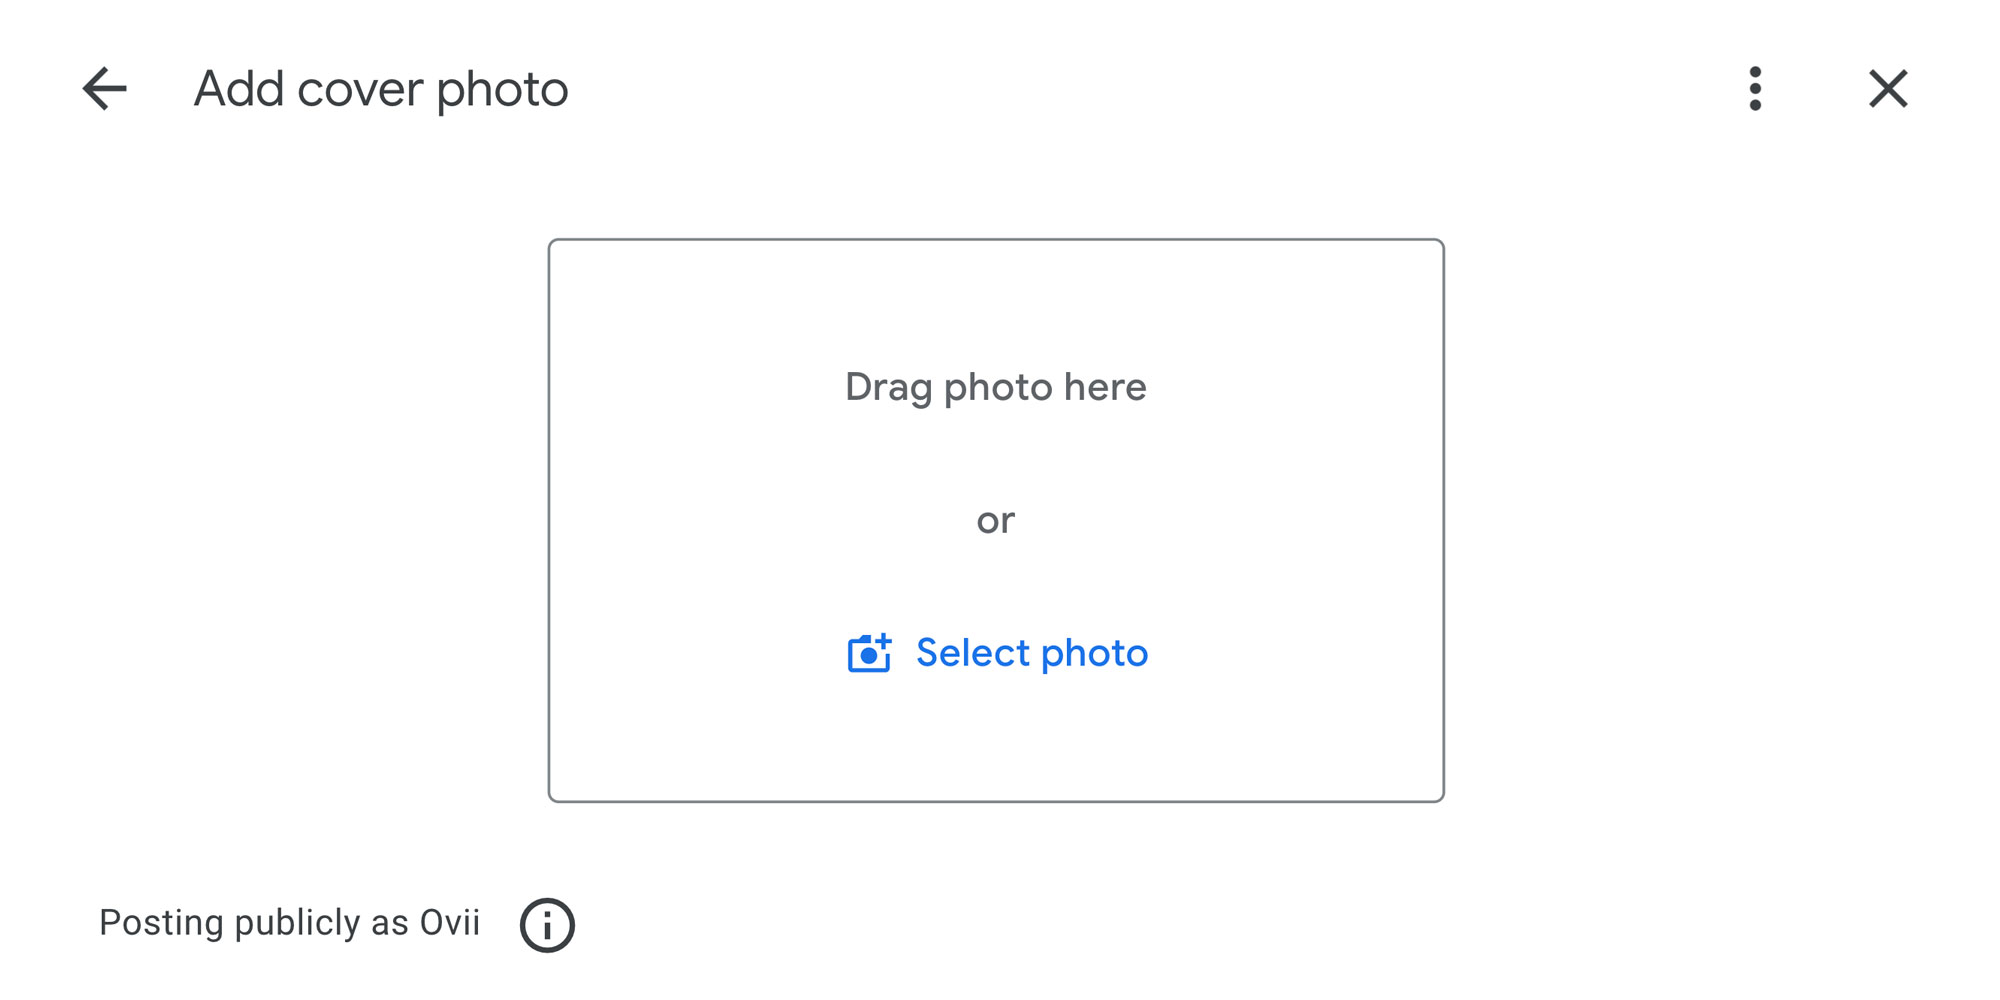
Adding a cover photo is also found by clicking the ‘Add photo’ icon from your Google Business Profile manager page. And this time selecting ‘Cover photo’.
Google states the recommended size of your cover photo size should be 1024 x 575 pixels with a 16:9 aspect ratio.
Like the logo, your cover photo shouldn’t have any excessive alterations. It should show an accurate representation of your business.
You're Ready To Role!
You did it! You set up Google Business Profile for your business.
You’re now ready to attract new customers through Google search results and Google maps!
